Honestly, right now, I’m sure, is not the time for recipes featuring more sugar. Desserts this time of year are my downfall though and I just couldn’t resist. This being the second time I’ve been lucky enough to be pregnant during the holiday season, I’m just a tad worried about gaining too much…you know. I have mentioned my history before, but if you haven’t had a chance to check out my “About Me” section, here’s a short history. I used to be really big, and I don’t mean when I was carrying a bowling ball in my uterus. I’m referring to the jolly old saint Nick type of big, you know, “round”. Ever since I shed those excess pounds, I’ve had a terrible time when it comes to holidays. I’m sure I’m not alone here.
Being a bit of a food addict is a vicious cycle of eating and guilt, and days where you just don’t care, and days where you work out to make yourself feel better. Personally, I feel like it’s a bit like alcoholism (don’t get me wrong, I’m not making light of that!). One day you wake up and realize you can do something about it, and you do. It took me less than a year to reach my goal and ever since then has been a battle with an addiction I have to face every day. Holidays are the worst as I have absolutely no will power. I like to call it the “see food” diet. I see food, I eat it. If there is a buffet in a large room full of people, you know where to find me. If we’re at my in-laws house and they put out a platter of food and no one else is indulging, you’ll know where to find me.
For the most part, I’ve come to grips with my “problem”, but the holidays are an especially bad time for me. Don’t worry though! This year, being that I’m “in a family way” I have no shame. “Baby want a Ferrero Rocher!”, “Baby wants thirds on that roast beef and gravy!”, “Baby wants a big glass of eggnog, full fat please, and don’t forget a cookie on your way back!” “Baby gets what baby wants”, is my new holiday motto. Don’t fret, I’m attempting to keep my exercise up (that’s good for baby too) and 9 hour baking marathons seem to keep me away from eating too much of the end result.
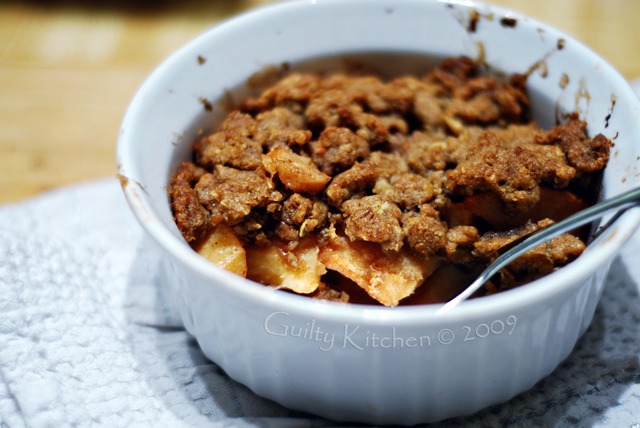
What does all that have to do with today’s recipe? Well, in the grocery store the other day, I happened upon a big pile of locally grown quince. Having never attempted to make anything with quince, I thought I should try now. They are lovely little fruits, similar to a cross between a pear and an apple. A little fuzzy and rock hard, they cook up quite lovely and turn a beautiful shade of pink. They have a subtle flavour and remain tart, so if you like it sweet, add more sugar to the filling part.
Don’t skimp on the whipped cream though!
Quince Crisp
Makes 2 large individual servings
For filling:
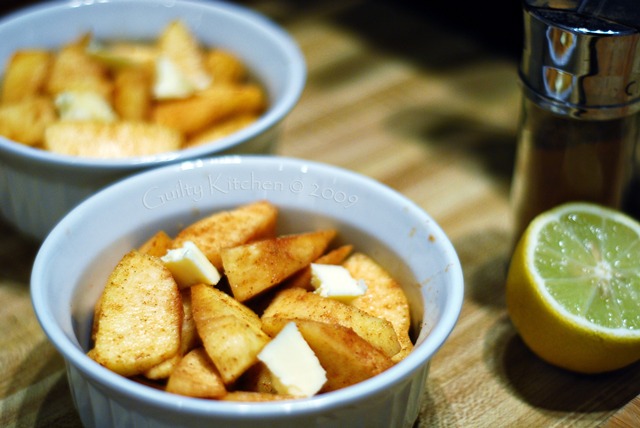
2 large quince, peeled, cored and sliced
juice of half a lemon
1/2 tsp cinnamon
3 tsp butter
1 Tbsp sugar

For topping:
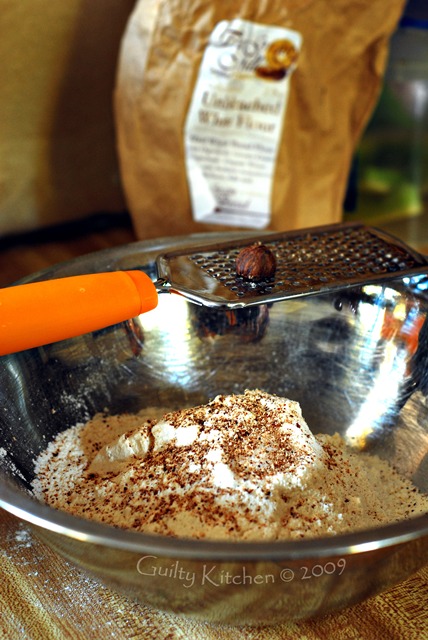
1/4 cup butter
1/4 cup brown sugar, packed
1/4 cup flour
1/4 cup oats
1 tsp vanilla
1/2 tsp cinnamon
1/2 tsp nutmeg, grated
1. In large bowl, toss sliced quince, cinnamon, lemon juice and sugar together to coat.
2. In two small, individual sized ramekins (they should hold about 500mL each), fill bottom with sliced quince. Dot with butter.
3. Bake in preheated 375°F oven for 15 minutes. Remove and set aside.
4. In small bowl, cream butter and brown sugar together.
5. Add vanilla, flour, oats, cinnamon and nutmeg and mix until combined.
6. Crumble over par-baked quince and return to oven for an additional 30 minutes.
7. Remove from oven and allow to cool for 15-20 minutes before serving with a dollop of whipped cream or ice cream.


No words today folks, just more Christmas baking!
Eggnog Shortbread
1 cup unsalted butter, room temperature
1/2 cup icing sugar
1 1/2 tsp rum extract
3/4-1 tsp grated nutmeg
1/2 tsp salt
1 3/4 cups all purpose flour
1. Cream butter until fluffy, beat in sugar and rum extract.

2. Mix flour, nutmeg and salt in small bowl.
3. Beat into butter a little at a time.
4. On a lightly floured surface, roll out dough to 1/4″ thickness (flour the rolling pin too, this dough is very sticky!).
5. Cut into whatever shapes you like, place 1″ apart on cookie sheets lined with parchment paper and refrigerate for 10 minutes (to avoid spreading).

6. Bake in 325°F oven for about 15 minutes, or until just the bottoms start to turn a golden brown. You don’t want too much colour…well, if you are my husband, you will put them in for 20 minutes or more until they are brown and crispy. Apparently they’re better that way.
7. *Optional* Melt 1 cup of white chocolate dipping wafers in a double boiler. Dip half of completely cooled cookies in chocolate and lay on wax paper to set.
Mocha Candy Cane Cake Balls
1 cup sugar
scant 1 cup all purpose flour
1/2 cup cocoa
3/4 tsp baking powder
3/4 tsp baking soda
1/2 tsp salt
1 egg
1/2 cup milk
1/4 cup butter
1 tsp vanilla
1/2 cup hot coffee (or 1 Tbsp instant coffee in 1/2 cup hot water)
Chocolate Frosting
1/4 cup butter, room temperature
1 cups icing sugar
2 Tbsp cocoa
2Tbsp heavy cream
1/2 tsp vanilla
Coating
1 cup dark chocolate chips
2 Tbsp butter
3 candy canes, crushed
1. Preheat oven to 350°F. Grease a 9″ round baking pan.
2. Stir dry ingredients together. Add egg, milk, butter and vanilla and mix until completely incorporated.
3. Pour in coffee and mix again.
4. Pour into pan and bake for 30-40 minutes.
5. When done, allow to cool almost completely. How you remove it from the pan doesn’t matter, because we are going to smash it up anyway.
6. Smash it up! Make into fine crumbs in a large bowl.
7. Make chocolate frosting:
- Beat butter until fluffy, add icing sugar and mix completely.
- Add cocoa, cream and vanilla and beat until completely incorporated.
8. Mix frosting and cake crumbs together until it is completely mixed together. Should be like wet, sticky batter.
9. Form balls about 1/2″ in diameter. Place on waxed paper lined cookie sheets.
10. Place in freezer for 10 minutes, to harden.
11. Meanwhile, melt 1 cup of dark chocolate chips in top of double boiler. Add 2 Tbsp butter. Keep warm while dipping balls.
12. Dip balls using two spoons to knock off excess chocolate and return to wax paper.Sprinkle tops with crushed candy canes.
13. When done, place in refrigerator to harden.
Unfortunately, none of my pictures turned out for the cake balls, except this one. Sorry! They were absolutely delicious though!
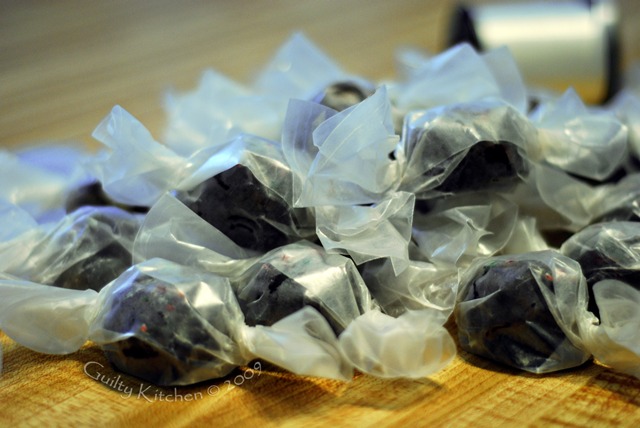
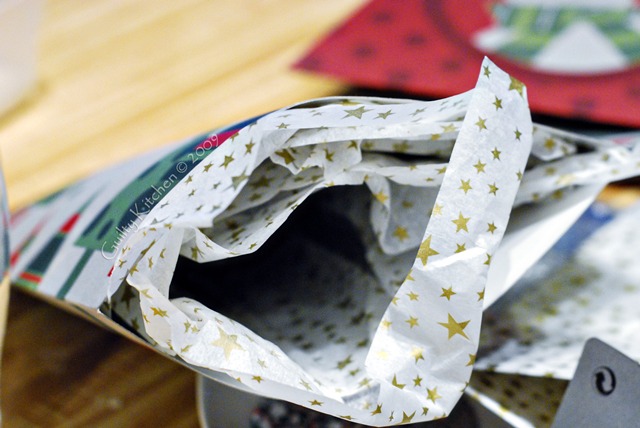
I packed everything up, added some ice packs, and shipped them off to their destinations. Here’s hoping they got there in one piece!

Well, here it is! I’ve been talking it up, but I finally got it all finished. Loads of time left to ship it all out to locations across the nation. I’m not sure if I should be embarrassed or not, but it took me 9 hours to fluff, fold, mix, spread, refrigerate, roll out, dip and package all these cookies. I’m not sure if Christmas baking really is all that easier than heading out to overcrowded malls during the seasonal crush. Maybe it would have been easier just to max out my credit cards like everyone else. Perhaps, next year, I will just make marshmallows and package up some homemade hot chocolate for gifts. There really was a lot of thought and effort put into these baked goods and I truly hope everyone likes them as much as I do.
Also, I just want all the family to know that I didn’t get to have any left for myself either, except for a few eggnog shortbread cookies. I know, boo hoo. Oh well, next year I will double the recipes!
Today I will feature my Molasses spice or chewy gingerbread cookies. They are a favourite of mine, and I hope they can become one of yours too. It’s taken me a few years to perfect the right amount of chocolate and spices, but I think I nailed it this time. Come back in a day or two for the Eggnog Shortbread and Mocha Candy Cane Cake Balls.
Chewy Gingerbread Cookies
yield: 2-3 dozen
3 cups all purpose flour
3 Tbsp unsweetened cocoa
2 tsp ground ginger
2 tsp ground cinnamon
1/2 tsp ground cardamom
1/2 tsp ground nutmeg
3/4 tsp salt
1 cup unsalted butter, room temperature
1 cup dark brown sugar, packed
1/2 cup unsulphured molasses
2 tsp baking soda dissolved in 1 Tbsp of boiling water
1/3 cup sugar

1. Sift flour, cocoa and spices into large bowl.
2. In bowl of electric mixer (with whisk attachment), add butter and brown sugar. Beat until fluffy.
3. Slowly add in molasses, and continue to beat until incorporated.
4. In batches, beat in flour, alternating with baking soda/water mix.
5. Shape dough into large disk, wrap in plastic and refrigerate for a minimum of 2 hours.
6. Preheat oven to 325°F.
7. Shape dough into small balls (1/2″ to 1″). Place 2 inches apart on baking sheet lined in parchment paper.
8. Refrigerate 10-15 minutes.
9. Roll balls in 1/4 cup sugar, flatten with palms slightly and bake for 12-15 minutes.
10. Let cool for a few minutes on cookie sheet, then transfer to cooling rack. Cool completely before eating.
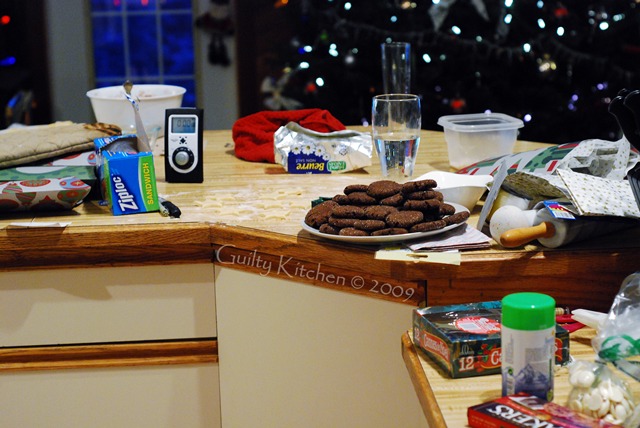
Look! Your house can look this good too after 9 hours of baking!

Has anyone ever done something amazingly nice for you, totally out of the blue, that you weren’t expecting? That’s what happened to me this past Friday night. I was hanging out with some girlfriends at a friend’s house, cooking up a big pan of my amazing lasagna (recipe to come eventually), when my husband called. He said a our friends had come by, dropped off a steaming container of freshly made soup and a small bag of fresh baked Parmesan Sesame Twists. I was blown away. These are the same friends who we occasionally have dinner with, which you can read about here. She had read, right here on Guilty Kitchen, that this pregnancy has got me down, energy wise. First pregnancies are great for complaining to your unknowing spouse about being dreadfully tired, but there’s no one there to complain to when you are home alone all day with one (or in my case two) toddlers running around. Chasing a toddler, creating baked goods for Christmas, decorating, tending a fire, and still finding time to write posts during the day is becoming a somewhat daunting tasks.
It is so easy to fall back on the old standbys for dinner. A salad here, pizza there, a quick soup, but soon there is no material left to write about. Well, in swoops Nancy, an angel in my own circle of friends. Not only did her and her husband, Jay, create a soup and accompanying bread products to go with it, they documented the whole process on CD and sent that along too! I could not believe my eyes when I got home. What an amazingly thoughtful thing to do! I’m sure they had fun doing it, as it is a process that can be quite thrilling sometimes, but I am still in awe of the gesture.
So here it is folks, I hope you enjoy their hard work as much as my family has!

Black Bean Soup with Hot Italian Sausage and Spinach
Adapted from Six O’clock Solutions (The Vancouver Sun)
1 tbsp olive oil
3/4 pound hot Italian sausage, cut into 1/2 inch pieces
1 small onion
2 garlic cloves, chopped fine
1 540ml can tomatoes with juice, chopped coarse
1.5 cups chicken stock
1 can (398ml) black beans, drained and rinsed
2 tbsp sun-dried tomatoes packed in oil, chopped and drained
1 tbsp chopped fresh oregano
1 tbsp chopped fresh thyme
1 bunch spinach, chopped coarse
Salt & Pepper

1. In a large heavy saucepan, heat oil over medium high heat. Add sausages and sauté for 5 minutes or until cooked. Remove sausages and set aside.

2. In same saucepan, add onion and garlic. Sauté 3 minutes or until tender.
3. Stir in tomatoes, stock, beans, sun-dried tomatoes, oregano, thyme, and sausages; bring to a boil.

4. Add spinach and cook for about 1 minute or until wilted.
5. Season with salt & pepper to taste.
Parmesan Sesame Twists
Adapted from Appetizers (the Best of Fine Cooking)
2/3 cup Parmesan, finely grated
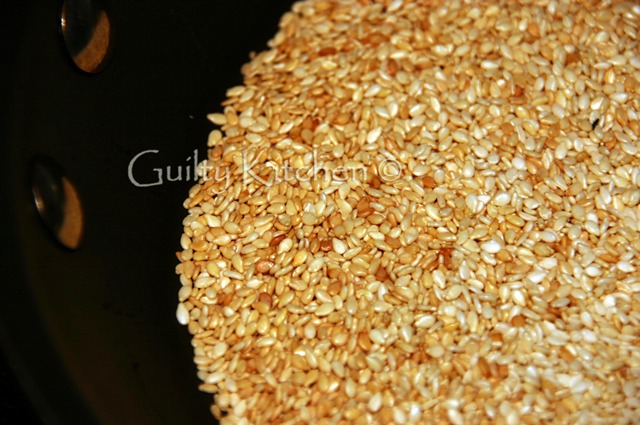
1/4 cup sesame seeds, lightly toasted
1/4 tsp cayenne
1/4 tsp chili powder
1/4 tsp dried thyme leaves, crumbled
Kosher salt
2 sheets frozen puff pastry, thawed
1 egg, beaten with a few drops water and a pinch of salt
1. Preheat oven to 425°F. In a small bowl, mix Parmesan, sesame seeds, cayenne, chili powder, thyme, and 1/2 tsp of salt.
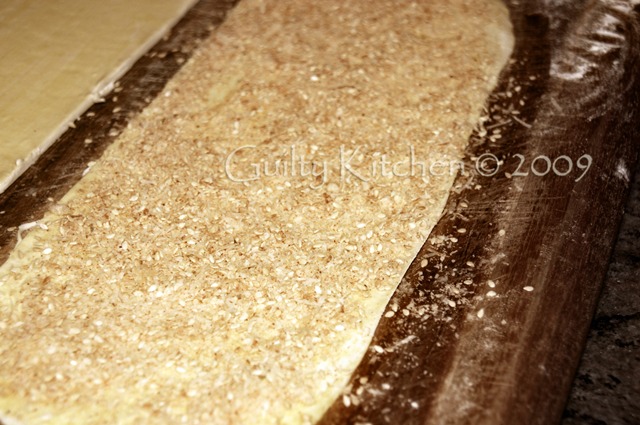
2. On a lightly floured surface, roll one of the pastry sheets into a 10″ by 14″ rectangle. Brush evenly with the egg wash and cut in half lengthwise to make two 5″ by 14″ inch strips.
3. Sprinkle half of the cheese filling over one strip and lay the second strip on top, egg wash side down. Press the strips together with the rolling pin to fuse the two sheets together.
4. Cut the strip crosswise into 28 strips that are about 1/2 inch wide.
5. Lift a strip, twist it three times, and lay it on an ungreased baking sheet, pressing each end to keep them from unwinding during the baking process. Repeat with the second pastry sheet and the remaining filling.
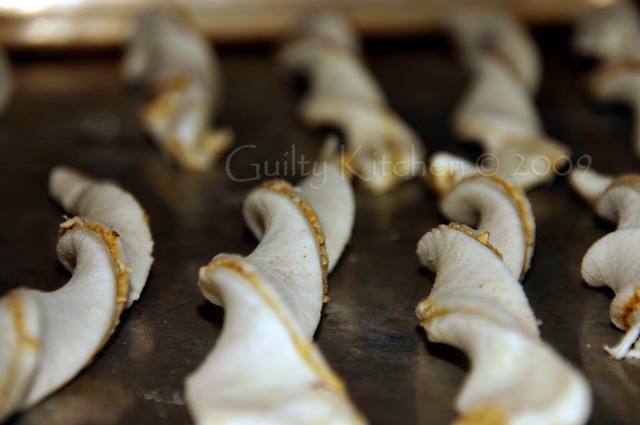
6. Bake the twists until they’re puffed, light brown, and dry looking throughout, about 12 to 14 minutes.
7. Let the twists cool on a rack and serve as soon as they’re cool enough.

8. Best eaten within a couple of hours if possible or freeze, defrost and reheat in 350°F oven for 3 minutes.

This meal was given in the true nature of this time of year, and I can’t stress enough that things like these will always be better than any present you could give. Well, except maybe diamonds…
Just remember, the next time your in that mall, stressing about making sure you bought the right gift that maybe it’s really a lot simpler than you thought.

Popcorn. Lovely, buttery, crunchy, melt in your mouth, popcorn. I could eat it everyday. Sadly, my thighs might begin to hate me, should I feed “the baby” popcorn everyday. There is much to say and bicker over when it comes to the creation of the perfect popped kernel. Some things to think about:
What kind of kernel? White, yellow, blue, heritage, on the cob?
How should I heat it? In a pot with oil, in an air popper, in the *shudder* microwave?
What toppings are best? Butter, salt, truffle oil, nutritional yeast, grated cheeses, sugar, spices, herbs, oil, pepper, so many choices!
So here is my take. Popcorn is very personal. Some people are content to pop a bag of store bought microwave popcorn with hellish “flavourings” into the microwave and wait 3.5 minutes for heaven. I’m too scared of the dreaded “popcorn lung”. It may take a few hundred bags, but the sheer fact that it can happen has scared me away from ever buying it again. When camping, Jiffy Pop is a great alternative to the oil drenched popcorn in a pot trick. Quick and entertaining, the bag expands right before your eyes! You can flavour it however you like.
I used to make popcorn in a pot with lots of oil (a la Alton Brown), but I always had a distatse for the way the popcorn remains somewhat chewy. Maybe I wasn’t heating it hot enough, fast enough, but then my husband came along.
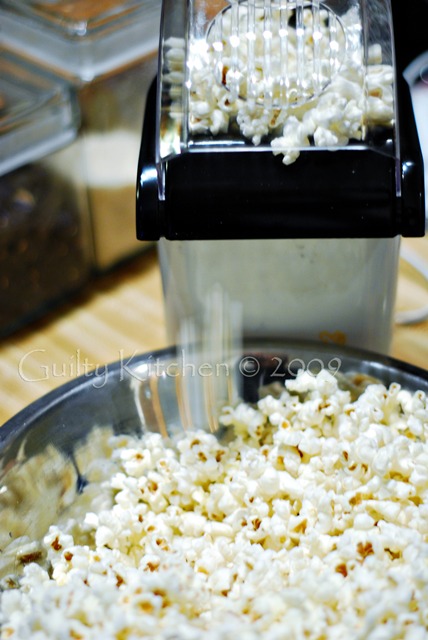
His method of air popping and his patented buttering technique have me smitten. This time of year, when the snow is falling (or not) and there is a chill outside, it’s nice to come home to your sweetheart (and or children) and snuggle up on the couch, throw on a DVD and make a big bowl of popcorn for everyone to share. One of my favourite things to do has to be curling up on the couch and watching my little boy’s eyes light up when the bowl makes it over to the living room. Eyes wide, hands plunging into the bowl, he is in toddler heaven! It’s a rare moment of quiet and I treasure every second of it. So let me share my husband’s perfected popcorn popping method. (Sorry all you pot poppers, but this is an air popping technique!)
Perfect Every Time Popcorn
You will need:
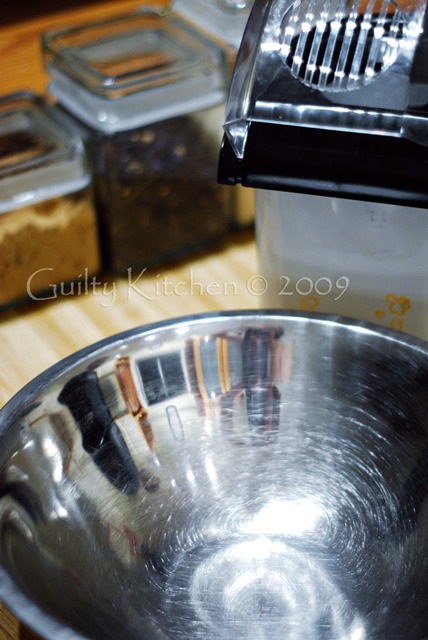
Air popper
1/4 cup Popcorn kernels
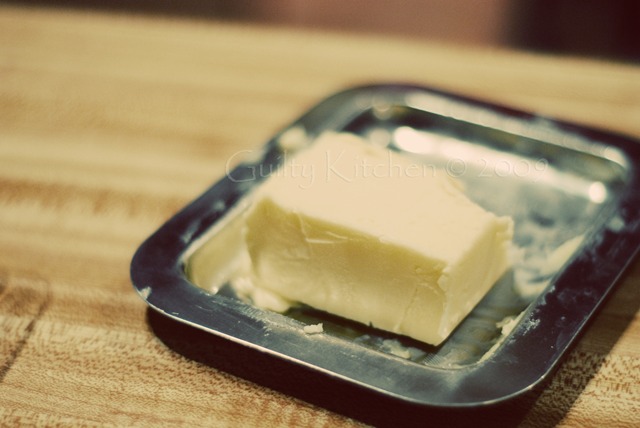
1/4 cup Butter
Salt
A large bowl
Napkins
1. Heat your air popper without anything in it, for about 2 minutes. This ensures the metal inside is warm and ready to go when you add the popcorn.
2. Heat 1/4 cup of butter until melted. In bottom of receptacle bowl, pour in a Tbsp or so and add a sprinkle of salt. This ensures that even the popcorn on the bottom gets a little flavour too.
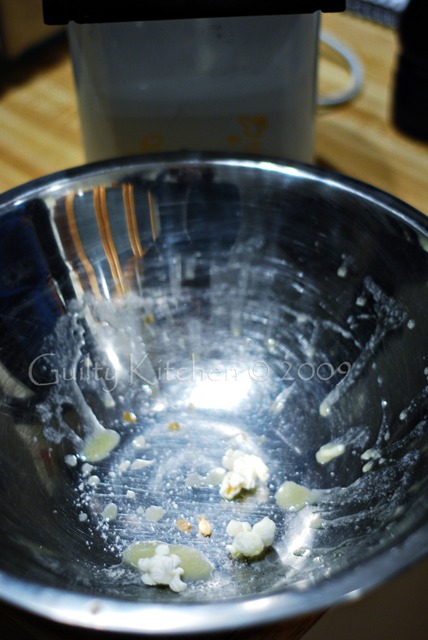
3. Add kernels to heated air popper and allow kernels to pop completely. Do not unplug machine until all kernels have finished popping.
4. Using a teaspoon, sprinkle butter over popcorn as it pops. Add salt if desired and continue to do so until all kernels are popped. Toss bowl, add remaining butter and salt.
5. Enjoy with your favourite people!

|

Hi! I'm Elizabeth. I like fitness, bad ass tattoos, food, bacon, chocolate, taking lots of silly pictures and my spawn. Check out my FAQ for all the usual Qs or send me an e-mail and tell me all about your cat and your Aunt Sally's amazing apple pie. |


