Life always has a way of curbing your enthusiasm when you get too excited doesn’t it? Last night was one of those nights.
I was just steamin’ along, poaching eggs, making hollandaise, baking English muffins, stirring a big ol’ pot of apple butter for my first canning experiment, sautéeing spinach and mushrooms and cooking the kid’s dinner too. My camera was up on the tripod, just outside the kitchen door, ready for my every picture taking whim. Little Cohen was running around as usual, making an enormous ruckus. His Daddy was playing with him and all was well…then the eyes were off him for a second. A split moment, every parents nightmare…
CRASH!
There goes my brand new Nikon D60 SLR (retail value? $589.00CAD), purchased less than two months ago. The lens is under my feet and the body is laying on the ground on the other side of the kitchen. There are little bits of black plastic bits everywhere. The lens won’t attach anymore and the body is completely cracked. It still works, and takes pictures, if I hold the lens to the body, but that’s not going to work, is it?
So, I might be missing for a few days until I figure something out.
Wish me luck…this could be expensive. Just take this as one of those lessons you learn from others. Having kids really does cost a fortune….sometimes indirectly.
Oh no.
Here I go again with the hippie food. I know, I know…you want to see meat! More meat woman! Well, just hold on to your hot little hands for a few days….the meat’s a-comin’! In fact, I’m away this weekend at a BBQ for my husband’s online game playin’ buddies…don’t laugh! They are serious, mature gamers. Really…
But don’t worry, I plan on posting while I’m away (It’ll be my first away post!). There is some crazy talk of something called a “Bacon Explosion”, being consumed. God help us. If I survive, I will be blogging about it, don’t you worry!
Anyway, On to the “burger”. Now this may seem like it wouldn’t taste good or even have very good texture, but I’m telling you right now, you would be wrong for assuming that. I love a good beef/turkey/lamb/pork/fish burger as much as the next gal, but when on a tight budget, this can be made for less than $5. Cheap at twice the price! It takes a little advance planning, but it’s totally worth it in the end. Change it up as much as you like!
Spicy Tofu Burgers
1 cup bulgur
2 cups water
3 chipotle peppers in adobo sauce
1 Tbsp. adobo sauce
1 Tbsp fresh rosemary, minced
salt & pepper to taste
1 block firm tofu, roughly chopped
1 medium yellow onion, diced
2 cloves garlic, minced
1 tsp canola oil
1/2 tsp flavoured salt (I used alder smoked but you could use plain)
juice of half a lime
1/2 cup sour cream
3 egg whites (because that’s what I had, but you could use 1 egg)
1 1/2 cups bread crumbs or quick cooking oats or a mixture of both
1 Tbsp nutritional yeast (optional, I like the flavour)
1 Tbsp Dijon
1 Tbsp Worcestershire sauce
3 oz feta cheese
1 Tbsp canola oil
fine cornmeal
salt & pepper to taste
1. In saucepan, add water, bulgur and salt. Bring to boil. Lower to simmer for 15 minutes. When done, set aside.
2. In small fry pan, sauté onions and garlic in oil until soft. Set aside.

3. In bowl of food processor add everything except last 4 ingredients. Whir until a small crumb forms and everything is mixed properly.
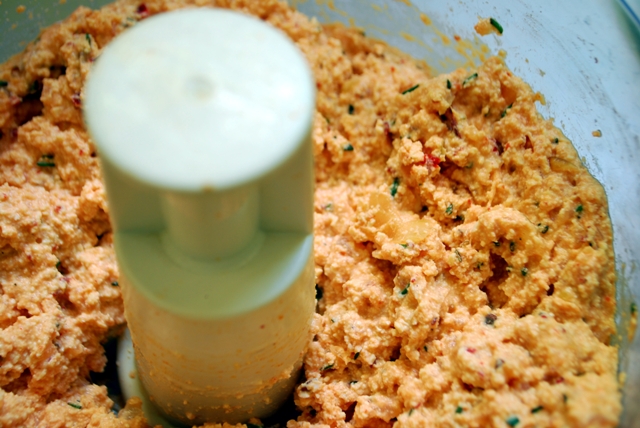
4. Form into patties of the size you want (smaller is better here for handling purposes).
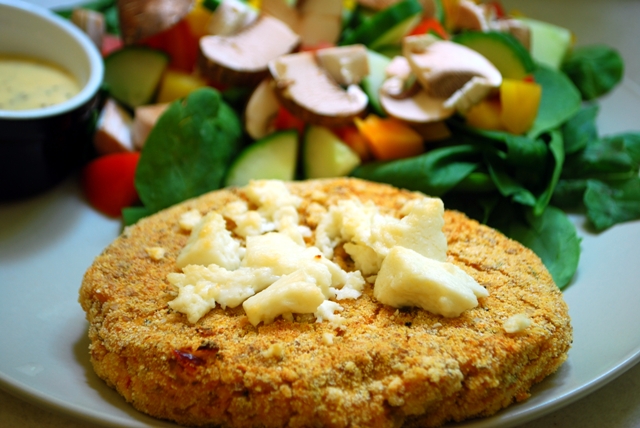
5. Pour cornmeal and s & p onto small plate. Coat patties and transfer to hot pan with a little oil in the bottom.
6. When they are browned and crispy on the outside, crumble feta over the tops and transfer to your oven (set to broil) for about 7 minutes (or until feta starts to brown).
7. I served these with a large salad, but they would be excellent on a nice ciabatta bun.
Okay, I hope that was a good lesson in vegetarian cooking for you. Next time you are on a strict budget, fit these into your menu plans for the week. They will keep the whole family happy! Maybe just tone down the spiciness for the little ones. And hopefully I can satisfy you meat lovers out there next week with the Bacon Explosion! I just had to mention it again…I’m kind of excited. Meat!
On a completely different note…I just wanted to share some of this week’s photography fun with you. So here you go:


If ever there was something I am known for amongst my friends and family, it is “The Big Salad”. We’re talkin’ huge here, people. Why? I like salad. I like the crispy lettuce and the freshness of the ingredients, the colours like a Mexican Carnival, the surprise of every bite being different. I just really like them…they are filling and healthy and easy to make. When I was younger (read: my personal being took up more space than it does now. IE: Overweight), I ate a lot of salads. I tried the Weight Watchers Points plan and they really didn’t allow for a lot of food. I was allowed 20 points or so a day but vegetables were zero points. I came up with eating salads. Worked for me. I lost 60 lbs and never looked back.
But really, enough about the “old me”. On to the salad.
This is a great summer meal, or anytime you feel like being healthy for a night. Maybe because you ate a dozen chocolate chip cookies the night before.
Guilty Kitchen’s Signature Chopped Salad
Yield: Two Meal-size Servings
3 Cups romaine lettuce, ripped into bite size pieces
3 cups baby spinach leaves
2 small vine tomatoes (or a bunch of cherry/grape tomatoes)
1/2 cup cucumber, diced
1/2 cup corn kernels
1/2 sweet bell pepper, diced
1/2 avocado, Diced
3 medium brown mushrooms, diced
3 oz. goat feta, crumbled
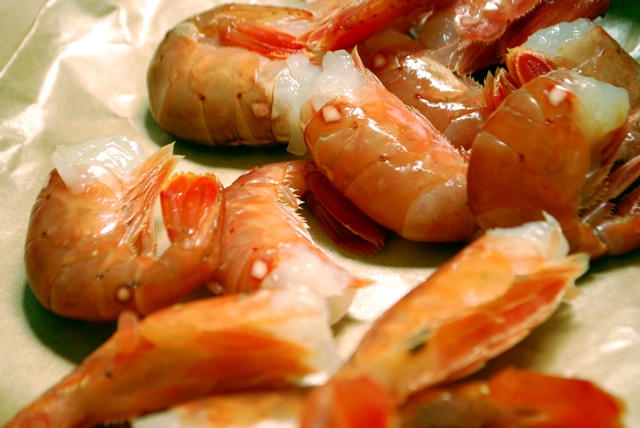
12 spot prawns, cleaned and shelled
1 Tbsp. white miso
1 Tbsp Japanese mayo
1 Tbsp rice vinegar
1 Tbsp Dijon
1 clove garlic, minced
Cracked black pepper
small handful of cilantro leaves
1. Mix the miso, mayo, vinegar, Dijon, garlic and pepper in a resealable bag. Add prawns and marinate for 1 hour or more.
2. Meanwhile assemble your salad. I do it right on the plates. Lettuce and spinach, then tomatoes, cucumber, corn, peppers, avocado and mushrooms. Then crumble your goat cheese right on top.
3. In a 400°F oven (or on a grill at medium high heat. In which case, use skewers) bake for 10 minutes. If using an oven, pour all the marinade over the prawns before throwing in the oven.
4. Set prawns on top of salad, sprinkle with cilantro, serve immediately. I like to use the left over marinade as a dressing, after it’s been in the oven of course.
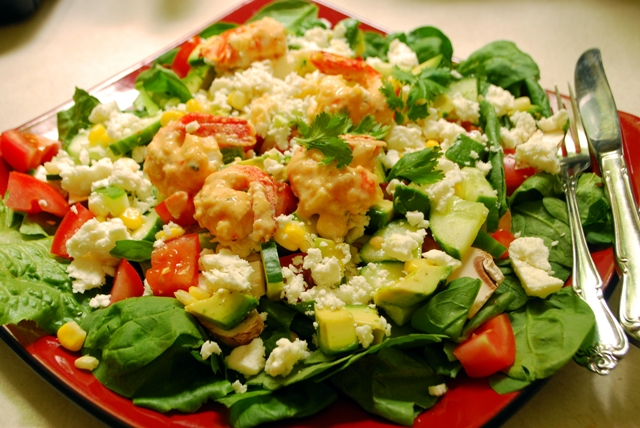
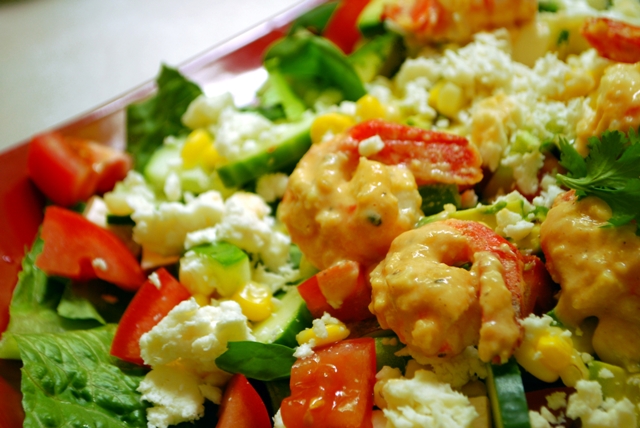
My husband often complains that he isn’t full after this salad. I find this quite impossible. Ummmm, this thing is huge! Do you see the plates I serve them on?! I can barely move afterward.
But if this is the case for any of your guests, simply make a quick and simple dessert to go with it. I like fresh sorbets or ice cream. Maybe a seasonal tart or, dare I say it again…chocolate chip cookies?

I know, I know. Everyone has a chocolate chip cookie recipe on their blog….sigh…borrrrrrriiiiiiiing. Well, that may be what you think, and I’m sorry to hear that, this recipe has a very good reason, two, actually.
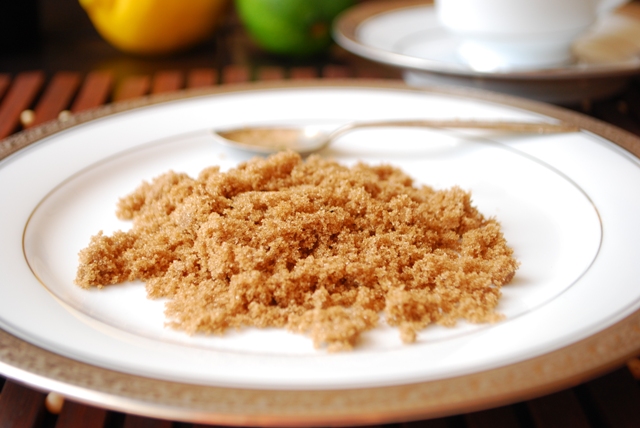
I made these wonderfully, delectable, crispy edged yet soft centered, totally stand up to their name, cookies for Culinary Snapshot’s “Through My Lens” challenge. I also made them to fulfill an interest in the Blogger Secret Ingredient Challenge, this month’s Secret Ingredient being brown sugar (There’s loads of it in these cookies) and hosted by my good buddy, The Sophisticated Gourmet.
I’m not ashamed that these aren’t remotely close to being an original recipe either. In fact, there’s a bit of a tizzy about where the recipe came from, but I don’t take sides. All I know is that they are damn good. In fact, I just finished two while I wrote this post. Sue me.
Go ahead and try to resist eating at least half the dough before they go in the oven. I dare you…
End the Search Chocolate Chip Cookies
Borrowed from dineandish.net
This recipe makes at least 3 1/2 dozen. I only made half of it for fear of eating an entire block of butter in one sitting. A girl has to have limits!
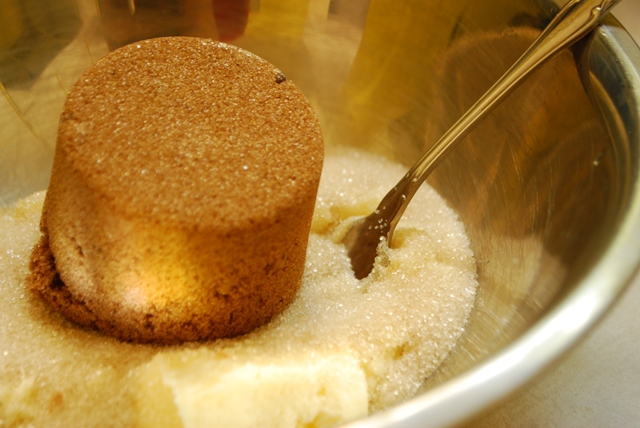
1 1/2 cups butter (room temperature)
1 1/4 cups sugar
1 1/4 cups Brown sugar, packed
2 tsp. vanilla
2 eggs
4 cups all purpose flour, unsifted
2 tsp. baking soda
1 tsp salt
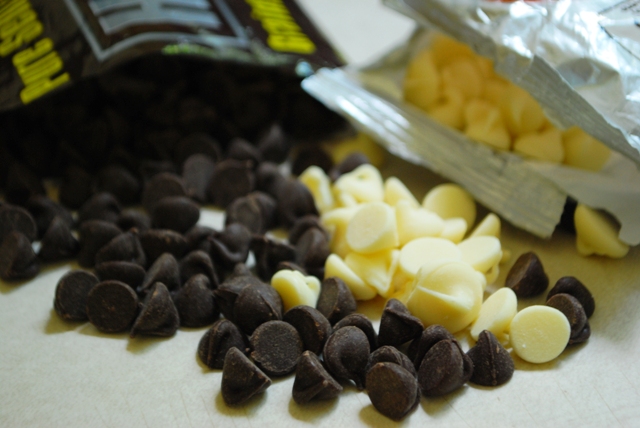
1 bag chocolate chips
1. Preheat oven to 350°F.
2. Cream butter and sugars in large bowl. Add eggs and vanilla, mix well.
3. Stir in flour, baking soda and salt.
4. Stir in 1/2 of chocolate chips.
5. Drop by rounded tablespoon, 2 inches apart onto an ungreased cookie sheet.
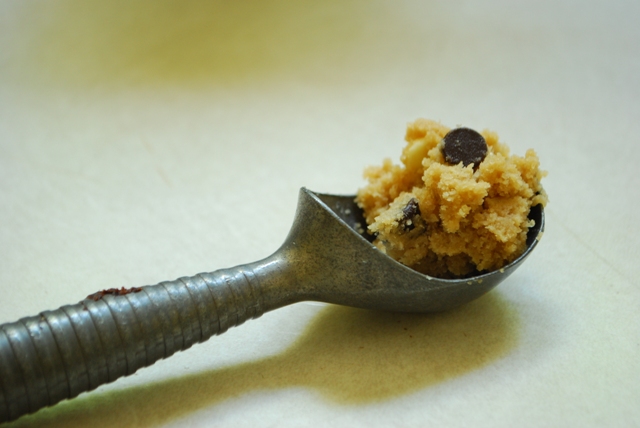
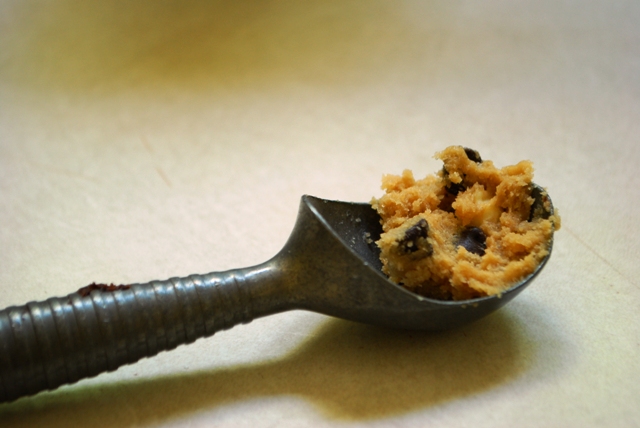
Oops, how’d that get in there?
6. Press other half of chips into tops of cookies before baking for nice presentation.

7. Bake for 9-12 minutes.
8. Cool for 5 or so minutes on cookie sheet before transferring to cooling rack. They probably won’t last that long though.

Now I have to go bake the rest of the batch of dough that I made for these cookies. I put it in the fridge for a little while so I could make dinner. So thoughtless. Now I have a big lump of dough in a bowl that I have to soften again…which means I’m going to do it at breakfast. We all know what that means. Cookies for breakfast, with a glass of milk… it really is a balanced, wholesome breakfast. At least at Guilty Kitchen….
I was feeling a little guilty yesterday. Like I ate too many cheesy bites at my hubby’s staff party on the weekend. Or maybe it was the gargantuan tart I ate the other night. Whatever the case, I needed to eat something a little more on the “healthy” side last night. Also, it was raining like nobody’s business all day and it kind of got me into one of those “Fall” moods. Don’t get me wrong though, I love Fall. Of all the seasons, I find Autumn to be my favourite. Colourful leaves, crisp scarf wearing weather, root vegetables, soups, you get the idea.
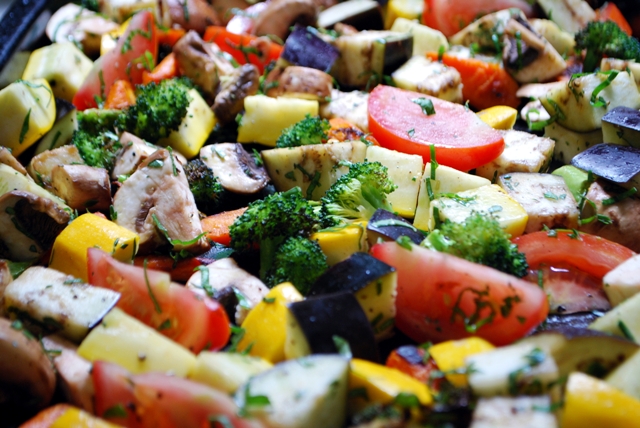
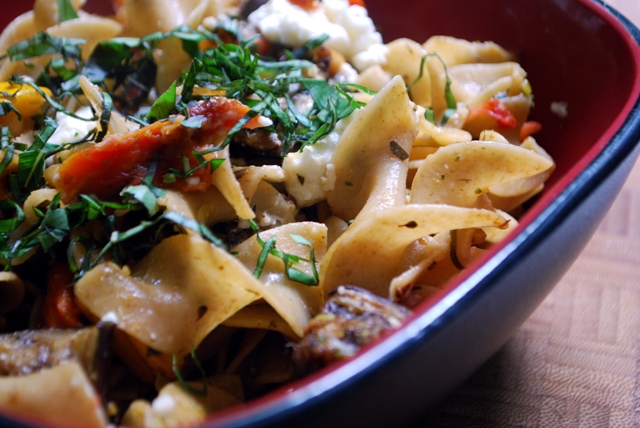
But since it’s still August and technically summer, I decided to make it somewhat summery. So how about roasted summer vegetables with egg noodles?
I do have to say, I was going to try my hand at making my own pasta, but sans pasta maker is a bit tough. I’ve added it to my “When I’m rich, I must buy…” list. Or, if you work at KitchenAid and really need a product tester, I’m your girl! Seriously, I’ll test anything you got.
Alright, enough shameless begging, on to the recipe!
Roasted Summer Vegetables with Egg Noodles
Serves 2 as a main meal
1 cup broccoli florets
1 large carrot, oblique cut
1 small eggplant, cubed
1 small yellow summer squash, cubed
1 tomato, cut into small wedges
1 Tbsp. veg oil (divided)
1/4 cup of fresh basil, oregano and thyme, chopped
1/4 tsp. ground cumin
salt & pepper to taste
1 clove of garlic, minced
1/4 cup pine nuts, roasted
1/4 cup of feta cheese, crumbled
2 cups (dry measure) broad noodles
chiffonade of basil, to toss at end
1. Preheat oven to 350°F. Toss broccoli and carrots in 1 tsp. of veg oil, cumin and some salt and pepper. Roast in oven for 20 minutes. Be sure to watch to make sure nothing is burning, I like to toss it a few times while it’s in there.
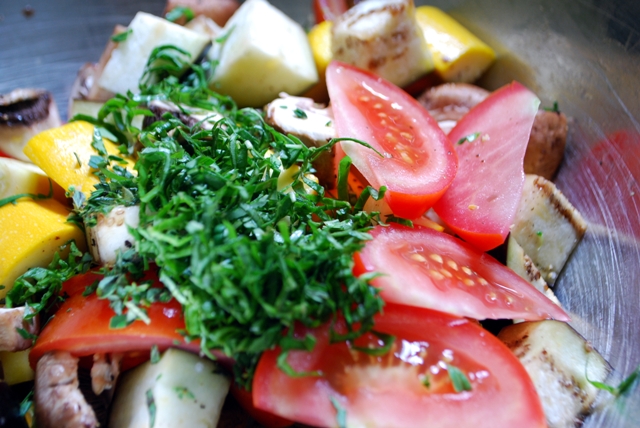
2. Toss rest of vegetables in remaining oil, salt and pepper, garlic and herbs. Add to carrots and broccoli and roast for another 20-25 minutes.
3. In large pot, boil water with small amount of salt and oil. Add noodles and cook according to package directions. Al dente is best.
4. When veg and noodles are finished, throw in large pan (with a little butter) and sauté together with pine nuts and feta for a few minutes, just to quickly meld it all together.
5. Serve in bowls with small amount of fresh basil on top. Delicious!
|

Hi! I'm Elizabeth. I like fitness, bad ass tattoos, food, bacon, chocolate, taking lots of silly pictures and my spawn. Check out my FAQ for all the usual Qs or send me an e-mail and tell me all about your cat and your Aunt Sally's amazing apple pie. |


