Sometimes, like Friday night or on a busy Saturday evening, you just don’t want to have to cook too much. Maybe you had a big lunch out with friends, or you have a movie to get to in a hurry. Well, there are healthy, fresh, tasty meals just waiting to be made and they really don’t take too long at all.
I made these two salads for just such an occasion. Filling, satisfying and eaten with quickly broiled fish or other seafood, this would be a complete meal. The dressing is very versatile, you could really use it on anything. Play with the vinegars or even the herbs and you have yourself an entirely different dressing again!
I know I use entirely too much cilantro, but you either love it or hate it, and guess what? I love it.
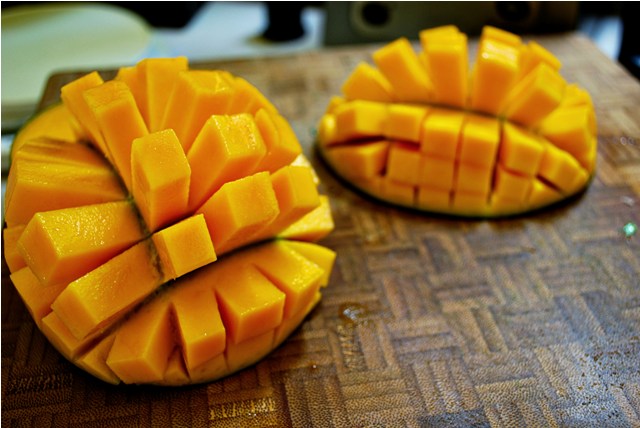
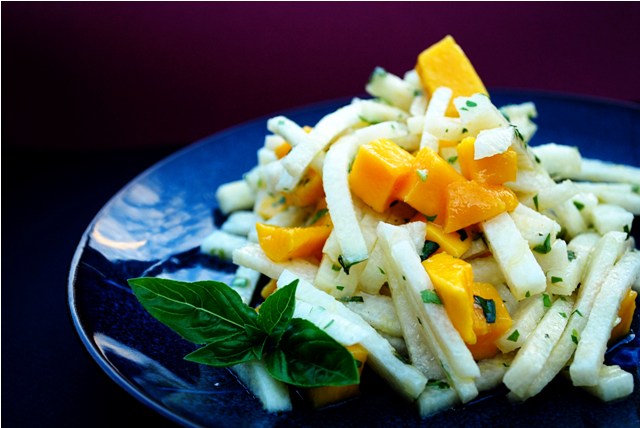
Jicama Mango Salad
1 Large Jicama
1 Large Mango
1. Peel the Jicama and julienne.
2. Peel mango and cube flesh.
3. Mix together in large bowl. Add dressing and allow to sit for 30 minutes or so, before consuming.
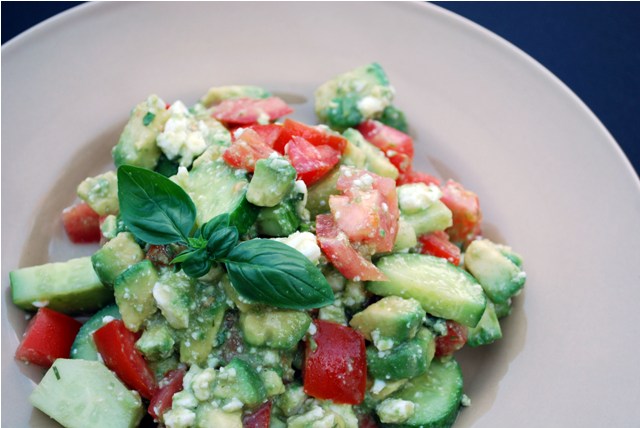
Tomato, Cucumber, Avocado and Feta Salad
2 Tomatoes
1 Large cucumber
1 Large avocado
1/2 cup feta cheese
1. Cube tomato, avocado and cucumber and add to large bowl.
2. Crumble feta over top, and mix to combine.
3. Add dressing to salad and serve immediately.
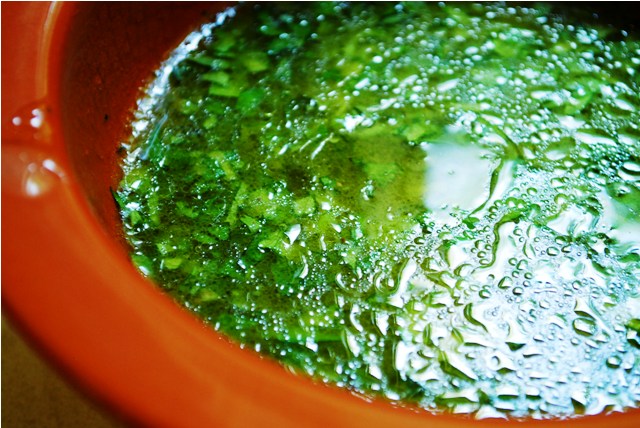
Honey Cilantro Basil Dressing
1/4 cup Rice wine vinegar
1/4 cup Apple cider vinegar
Juice of 1 Lime
1 Tbsp Dijon mustard
2 Tbsp + 1 tsp Honey
3/4 cup extra virgin olive oil
1/2 cup cilantro (loosely packed)
1/4 cup basil (loosely packed)
Salt & White pepper to taste
1. In small bowl, combine vinegars, Lime juice, Dijon & honey.
2. Drizzle olive oil into vinegar mix while whisking vigorously.
3. When all is combined, add in chopped herbs, salt and pepper. Allow to sit for an hour or more to allow flavours to meld and intensify.
I know this blog is seriously lacking in the meat department. I can’t help it. I love my veggies and my strict food budget sometimes does not allow for the amount of money it costs to buy slabs of animal flesh. Soon enough (less than two weeks and counting!) I will be going to my very own retro style butcher shop. It even has it’s own hanging room, or whatever it is you call it where the carcasses are hung before butchering. I seriously cannot wait. Although I despise moving more than I despise fast food, the thought of getting out of the city and into the sticks is so very, very appealing. We’re even going to try our hand at backyard chickens. Any info or advice would be very much appreciated. I don’t know what I’m doing when it comes to my dog, let alone small brained fowl who poop out eggs everyday (everyday or every other day?).
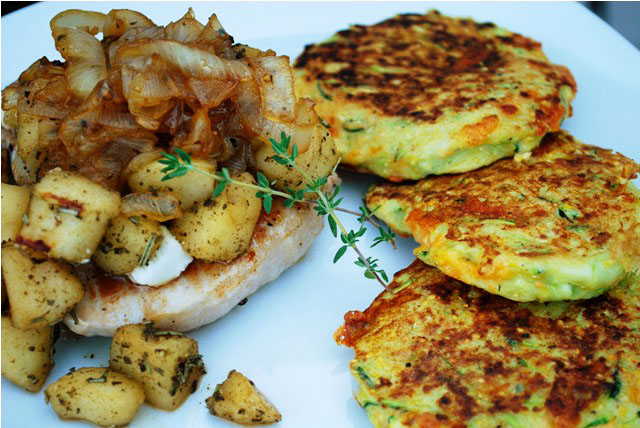
In celebration of the coming fall months (my most favourite of seasons!) and to use up some of those apples that are still hanging around my kitchen, I decided stuffed pork chops were in order. Sadly I didn’t inspect my chops carefully for size, and they were a bit too small to stuff, but this recipe overcomes that. They became stacks of a sort….delicious savory pork topped with slightly softened, herb coated apples and sweet, caramelized onions. All contrasting with the salty layer of cheese to top it off. This recipe calls for almost a whole bottle of beer as well, because when I used to work in a brewpub (or gastropub as they put it), it was mandatory to try to fit beer into every recipe.
As much as this meal is a celebration of the coming autumn season, it is also a salute to the end of summer. The bounty that is the ridiculous amounts of zucchini is upon us and we don’t even have a zucchini plant! Wherever I turn, people are trying to give away more zucchini. It just keeps coming our way.
This is a very easy, fast recipe that will eliminate at least a couple of your overabundant zucchinis (or more depending on family size).
So give it a try, I promise you won’t be disappointed.
I recommend making the apples, caramelized onions and zucchini pancake batter in advance, that way it is just a matter of making the pancakes, assembling it all and finishing the pork in the oven.
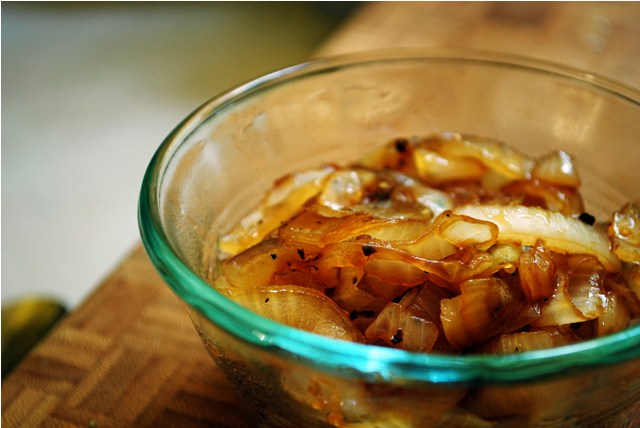
For the Caramelized Onions
1 Large yellow onion (or white, or vidalia, or Walla Walla, don’t matter)
1 tsp. canola oil
about 3/4 cup dark beer (I used a honey brown), you can drink the rest, I did!
1 Tbsp yellow or brown sugar (optional)
Salt & pepper to taste
1. Peel onion and slice in half down the centre (top to bottom). Now slice thinly into half moons.
2. Heat oil in high walled sauté pan, add onions. Cook for a few minutes until they begin to soften.
3. Add 1/2 cup beer, sugar, salt & pepper.
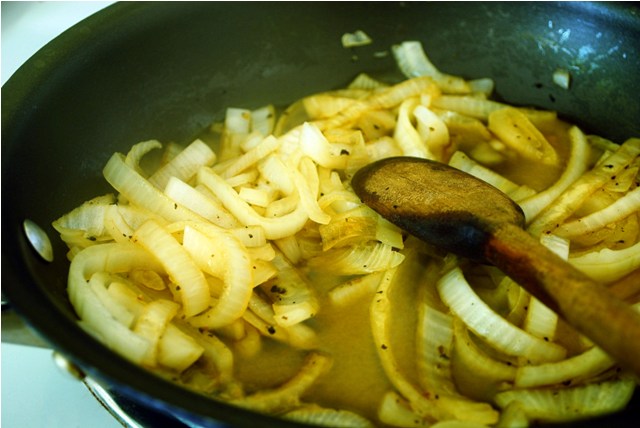
4. Allow to cook until all liquid is gone and a glaze begins to form on the bottom of your pan.
5. Use the remaining beer to deglaze the pan (you can so this a couple of times).
6. Set aside.
Apple “Stuffing”
2 Apples, peeled, cored and cubed
1 Tbsp fresh rosemary, chopped
1/2 tsp. ground sage or use fresh if you have it
1/4 cup beer (I used the same beer as for the onions)
salt & pepper to taste
1. In a saucepan, add all ingredients and cook on medium for about 5 minutes, just enough to soften the apples.
2. Remove from heat and set aside.
For the Pork Chops
Two butterflied Pork Loin chops (boneless)
S & P
1 tsp Canola oil
2 oz. (about 1/2 a cup) Feta cheese (Brie would work really well too)
1. Heat oven to 400°F.
2. Season pork with salt & pepper.
3. Heat a heavy skillet over medium high. When ready, add in pork and allow to sear for 3-4 minutes on each side.
4. When finished searing (they are meant to be undercooked at this point), put pork chops on a baking tray. Crumble cheese over top, then add a layer of apple, then top with a layer of onions.
5. Bake in oven for about 5 minutes or until pork chops are done to about medium.
6. Allow to rest a few minutes before devouring. Serve with Zucchini pancakes.
Zucchini Pancakes
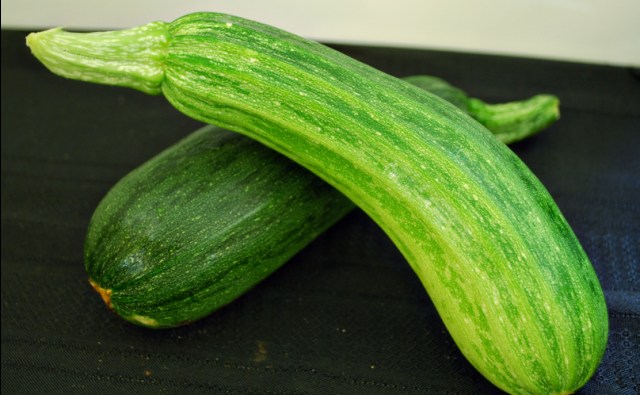
2 Medium sized zucchinis
1 large egg
1/3 cup all purpose flour (whole grain would work fine)
1/2 cup Whole grain cornmeal
1/2 cup grated cheddar cheese
1 Tbsp sour cream
S & P
1 tsp canola oil
1. In a large bowl grate zucchini.
2. Add in all other ingredients and stir well to combine. Should be the consistency of a pancake batter, if not, add a little more all purpose flour.
3. Heat oil in a large heavy skillet on medium high. Scoop by spoonfuls into hot pan, turn when edges begin to brown.
4. When cooked through, serve with sour cream.
These pancakes are great for little ones too. My son ate 1 1/2 of them before giving up, but that’s serious progress in this house! I am determined to rouse him from this pickiness and make him into Mommy’s little foodie. It’s a lifelong project, but I have determination. When I’m old, tired and beginning to lose that creative edge, I hope to have a gourmand on hand to make me food.
I have a funny story from last week. Well, maybe not funny haha, but funny in it’s own little way…
We were to be witnesses for some friend’s of ours as they signed the papers for buying a new house. There were no Realtors involved, so we would be the only one’s there besides the sellers and our friends. Also, we had to look after their little girl and our little boy who ran around the property for over an hour as the two parties bartered inside.
As we were wandering around the property though, we noticed a big apple tree bending under the weight of it’s unpicked fruit. Being the Karmic observer that I am, I told my husband not to touch. Well, we all know how that went…soon enough the kids were standing under the tree too, one saying “snack! snack!” the other (ours) grunting and pointing up.
My husband, apparently, was familiar with this type of apple, as he had a neighbour as a child who had a tree in their yard. I’m guessing little Mr. Guilty probably stole half of their fruit too. So, we picked a few fruits and then wandered around some more waiting and waiting and waiting for them to finish. Finally, when all the signing of documents was finished, the kindly Scottish couple who owned the house told us to pick all that we could reach. They didn’t like those apples anyway. And the race was on! We grabbed as many bags from our car as possible and picked every fruit from every low and medium hanging branch on that poor tree.
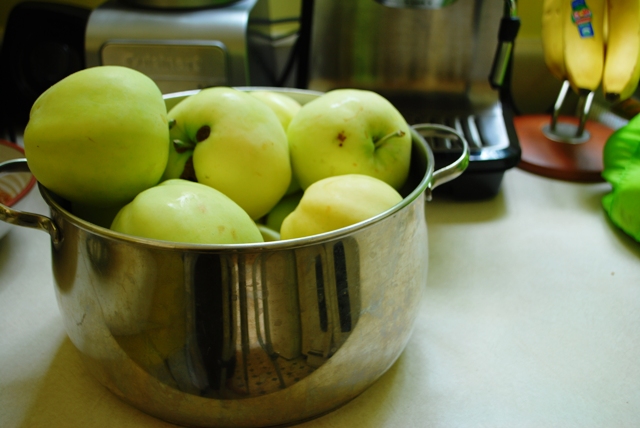
When we got home I realized something. We now had 20 lbs. of cooking apples and they were ready to be eaten now. What to do….there’s only so much apple pie/crumble/bread/cake/muffins, etc a person can consume. So I decided to push myself past any comfort zone I have ever known……Preserves. My mother used to can things when I was a child, but I never helped (much) and I don’t have a giant pressure cooker like she did.
I have never attempted to make anything that would store for more years than I’ve been alive, but what better time to try. I just hate to waste food. I really didn’t want to make applesauce though, blech…my son is too old for purées anyway and I’m just not a fan.
After scouring the internet for recipes for a really good apple butter and methods of preserving it, I came up empty handed. Nothing really struck my fancy. Every recipe called for enormous amounts of sugar or the use of apple juice or applesauce, none of which I had or cared to purchase for this recipe. I just wanted to reduce apples into delicious, smooth, rich, apple butter! So I had to come up with my own recipe, and here I will share it with you because, wow, it’s amazing (if I do say so myself). If you like a slightly tart, spice filled, aromatic, jam like spread for your morning toast, than this is it!
Not Yo Mama’s Apple Butter
15 apples ( I used a tart cooking apple, like this)
1/4 cup white balsamic vinegar
1/3 cup 100% pure maple syrup
1 Tbsp vanilla
1 cup brown sugar, packed
1/2 tsp cardamom
1 Tbsp cinnamon
1/4 tsp allspice
1/4 tsp nutmeg
1. Peel, core and cube apples. Place in larg,e heavy bottomed saucepan. Add all remaining ingredients to apples.
2. Set to medium high (around 8 on a regular stove) and get it boiling. Reduce to a simmer and allow to cook down for pretty much the whole day. I think I cooked mine for about 10 hours. You will know when you have the right consistency. It should be as thick as still hot porridge or oatmeal and stick to the spoon when lifted out of the pot.
3. Wash all your jars with hot, soapy water first. In another large pot, add jars and lids you will be using to store your apple butter (I used 4 large jars). Cover in water and bring to a boil, boil for 10 minutes to sterilize.
4. When your apple butter is finished, keep it at a low boil (it needs to be hot to put in the jars).
5. Remove your jars from the water one at a time and empty the water out of the jars (but leave the water in the pot, add more if needed and keep boiling) your jars should be hot enough to evaporate most of the remaining water inside them. Fill each jar to almost the top (about 1/4″ away from rim). Wipe any remaining apple butter away from the rim and screw lid on tight. Do this for all your jars.
6. Now put your jars back into the pot with at least an inch or so of water covering them and boil for another 5 minutes (more if you are above sea level).
7. Remove from water and set to cool overnight without jostling too much. In the morning check your seals. If they are depressed, congrats, you’ve just canned something! Yay! If they pop up and down, you have failed. I’m guessing you could try to do the whole process again, but I wouldn’t. Just take it as a lesson learned.
Serve with some delicious homemade English Muffins (recipe coming soon!)
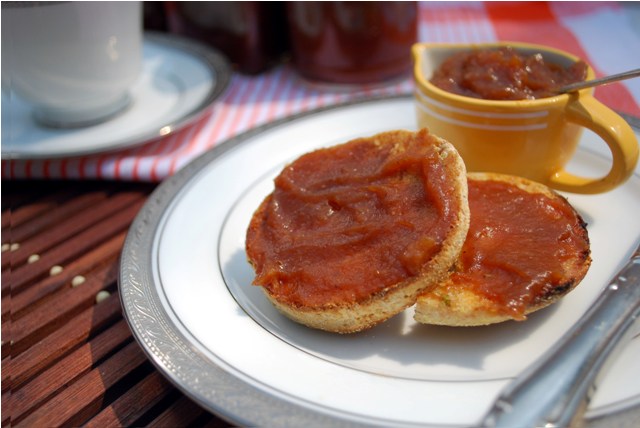
We’ve been keeping an open jar of this stuff in the fridge now for the past week. It’s a big hit with my son and me too. Tart, full of spicy deliciousness and thick to boot. If you have any tips or tricks for me, feel free to leave a comment, I love feedback!
I’m baaaaaaaaaaaaaaaaaaaaaaaaaack!
That’s right folks, it only took 5 days to get a new one, but I am now the proud owner of a second Nikon D60. DOn’t get your panties in a bunch though, the insurance agency is coming today to pick up the disheveled corpse that is my old camera to harvest it for parts. Sad isn’t it.
I think that we should all take this as a valuable lesson in children and food photography. When in a mad flurry of activity in a 3×6 foot kitchen, perhaps it is not the best idea to have your camera teetering precariously on the highest setting of a 30 year old tripod. I’m still not sure how I’m going to get around this, aside from attaching my camera firmly to my body at ALL times. If anyone out there has tips, please feel free to give ’em up!
Anyhow, last night, we scurried out to Future Shop (where the insurance agency forced us to buy our camera) and acquired our brand new camera at lightning speed. We also picked up a new cordless phone. Why? Because our neighbour’s daughter (whom I look after) put our phone in a water toy….hmmm, do you see a pattern developing here? I’m loathe to admit it, but this is actually our second camera that has been destroyed by our son. He put out Nikon CoolpixS550 in the washing machine, and I unknowingly turned it on.
This kid is seriously going to owe me in the future. I’m thinking of garnishing his wages, is that too much? His first paycheque is soooooooooooo mine.
Now let’s get to the food!
Now, I know some of you may be thinking, “hmm, this is very similar to the Signature Salad and the Fruit Infused salad”. Well your right, and I would be ever so happy if you kept your traps mouths closed for a moment, thank you! I only had an hour to make something, set up for the shots and work with a kitchen in the middle of packing for a move. This was on the menu and I hadn’t been planning on getting my camera back so soon. When I’m not in “Food Blog” mode, we generally eat salads a lot on busy nights, so there you go.

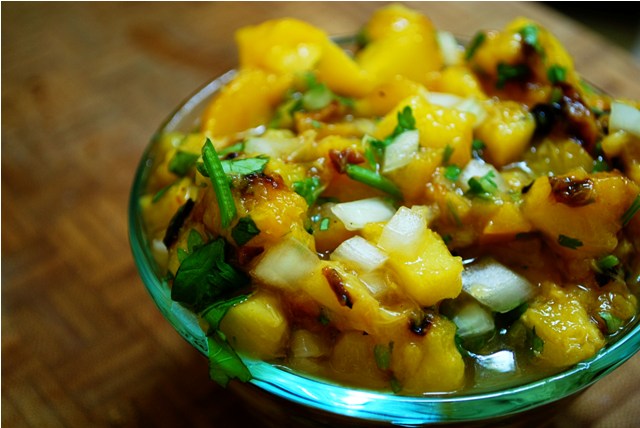
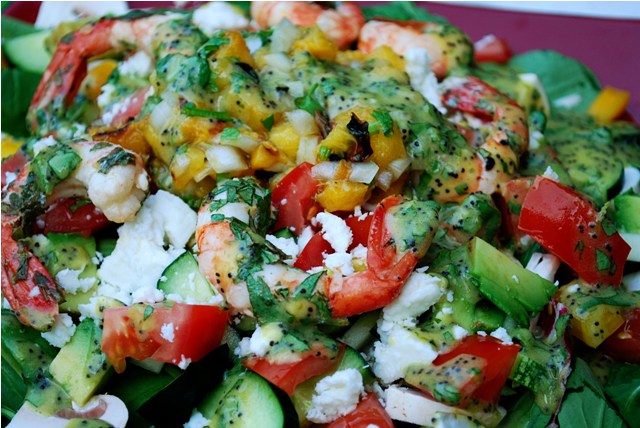
Grilled Peach Salsa on Spot Prawn Salad
2 Ripe Peaches, halved and pitted
1 tsp canola oil (or other neutral oil)
1/3 small yellow onion (or sweet onion)
1/4 cup cilantro chopped
1 small jalapeno, seeded and diced
juice of 1/2 a lime
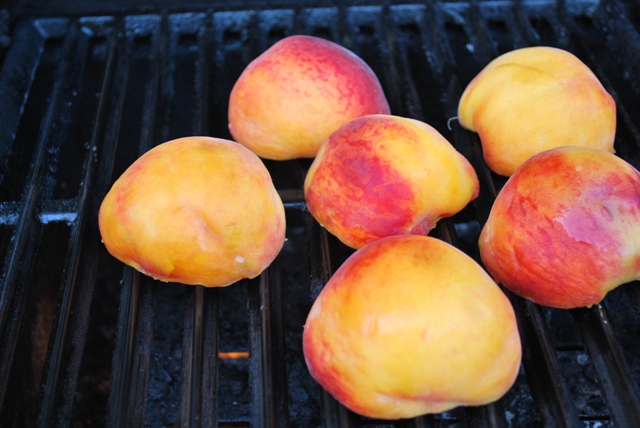
1. Brush peach halves in oil and grill on BBQ at medium high for 5 minutes per side (I like mine fairly cooked, not just slightly warmed, if you just want pretty grill marks, lessen cooking time or only cook cut side.)
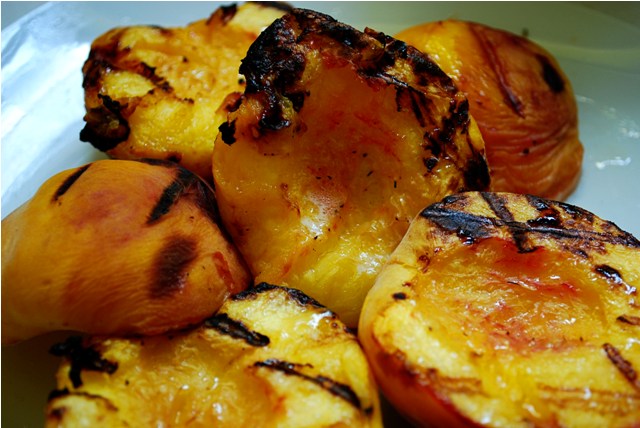
2. Meanwhile, mix remaining ingredients in small bowl. When peaches are finished, dice and add to bowl. Mix together and let rest for 1 hour before serving.
Prawn Marinade
12 Spot prawns
1/3 bunch cilantro
1/4 tsp cumin
juice of 1 lime
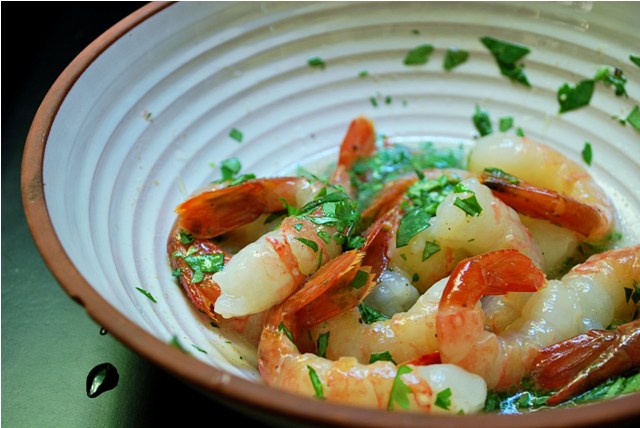
1. Chop cilantro and combine with all remaining ingredients. Set aside for a hour or more.
2. Grill on medium high for 7 minutes or bake in a 400°F oven for the same amount of time. Serve warm.
Salad
Mix of baby arugula, radicchio, frisée and spinach
2 tomatoes, cubed
3 mushrooms, sliced
3 oz. goat feta, crumbled
1/2 avocado, diced
1/2 yellow pepper, diced
1. On plates, layer all ingredients.
2. Layer half of prawns on top of salad, then a scoop of peach salsa.
3. Drizzle with dressing and serve. Delicious!
Dressing can be found here, the only thing I added to it was 1/3 bunch of chopped cilantro.
Now, hopefully by tomorrow or next week, I will be back to the swing of things, so don’t write me off just yet. I was just getting really into this food blog thing… Thanks for sticking with me!
Elizabeth
It’s a funny thing, the internet.
It can bring the whole world to your fingertips or propel you out into the vast galaxy that is the world wide web right from your home or office and yet still feel as private as that little room in the bank where you open your safety deposit boxes. Yet the way in which people use their connections is as varied as the spices in your kitchen cabinets. So it was this weekend, where my husband’s online gaming world finally came into reality.
For a while now, my husband has been playing games online with strangers as part of what they call, a “clan.” Oh my god, how nerdy is that?
Anyway, they call themselves The Lazy Bastards and most nights, it’s where you’ll find Mr. Guilty Kitchen. I won’t bore you with the nitty gritty, if you’re interested, click the link above.
Long story short, the clan (who are from all over the world), organized a BBQ get together about 40 minutes from our house. Mr. Guilty was introduced to these forums by our dentist, Festus, and he was to be our gracious host. I was excited to be a part of this whole thing (I’m very supportive of Mr. Guilty) and agreed to share in the burden of cooking for 20+ people in someone else’s kitchen. Someone I’d never met, no less.
The day before the BBQ, as you may have read, my little angel of a son, knocked over my tripod and smashed my brand new Nikon D60 to smithereens. *sob*
But fear not, loyal readers, our gracious host, Festus, lent me a Canon Rebel E0s for the two day event and I documented everything. And here it is, although I don’t have all of the recipes yet, so please be patient while I round them up.

It all started with a view….
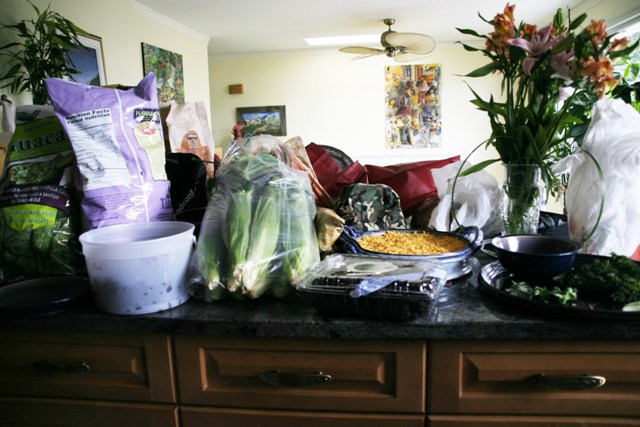
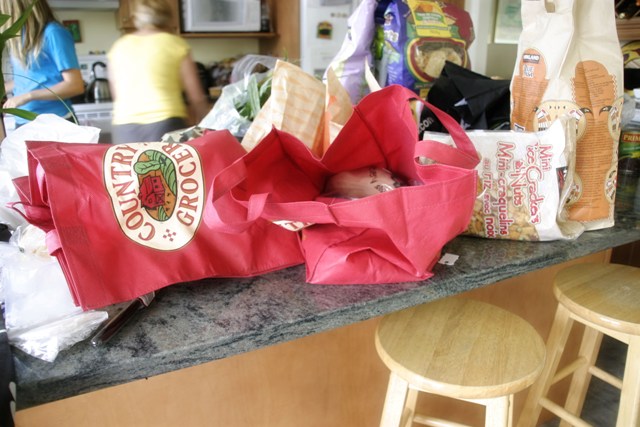
and of course, some shopping…for 20
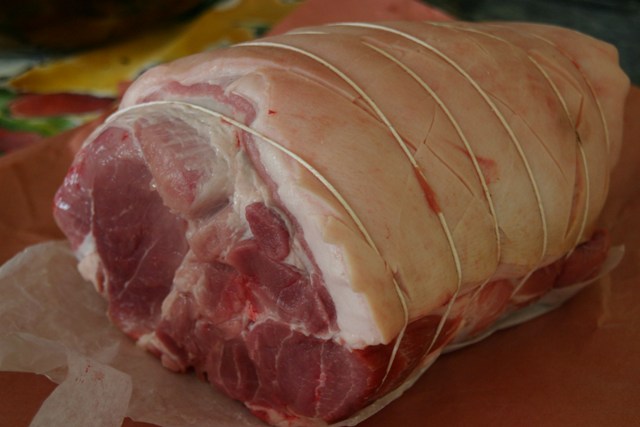
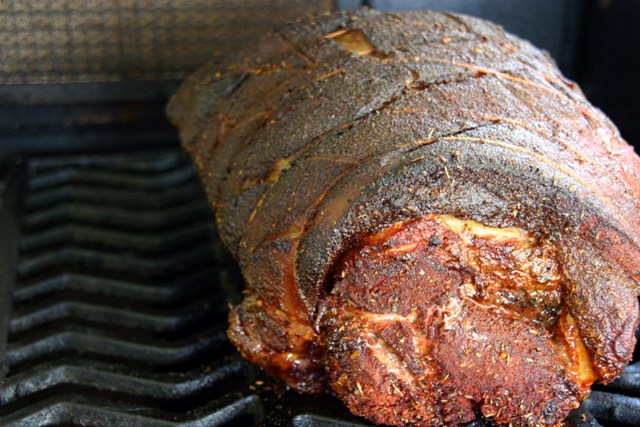
Pork Picnic Roast
Alder wood smoked of course…
Slow roasted for 10 hours, with a dry rub (recipe here)
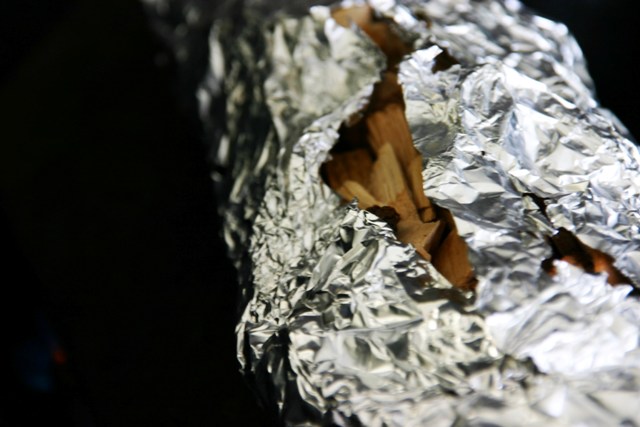
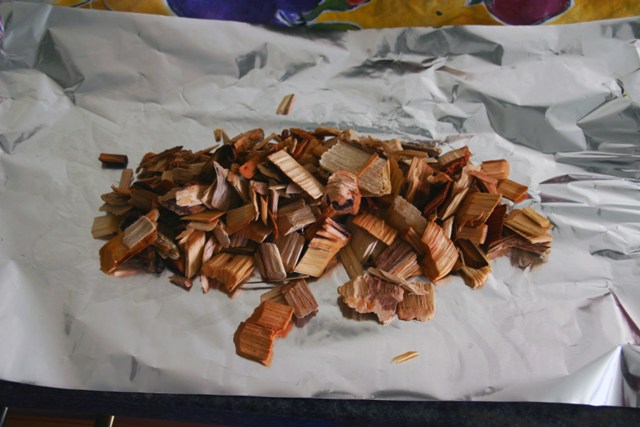
Wood chips smokin’ away
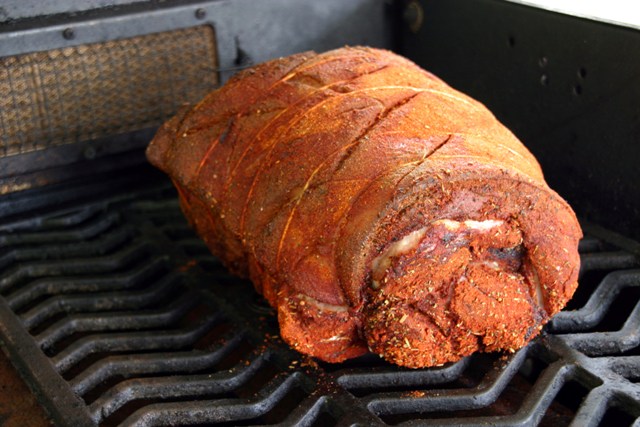
We sprayed it every hour or so with Apple cider vinegar and beer…
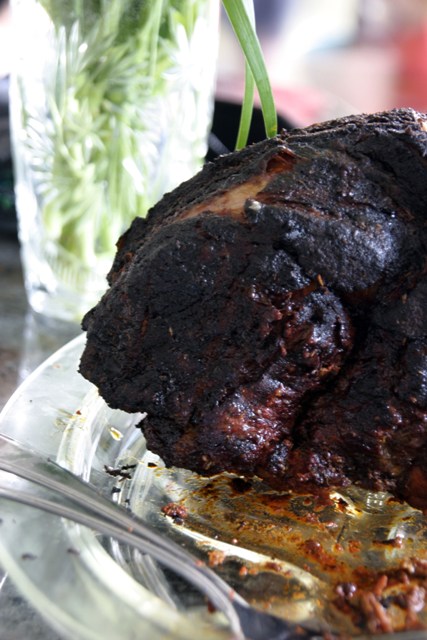
Ta da!
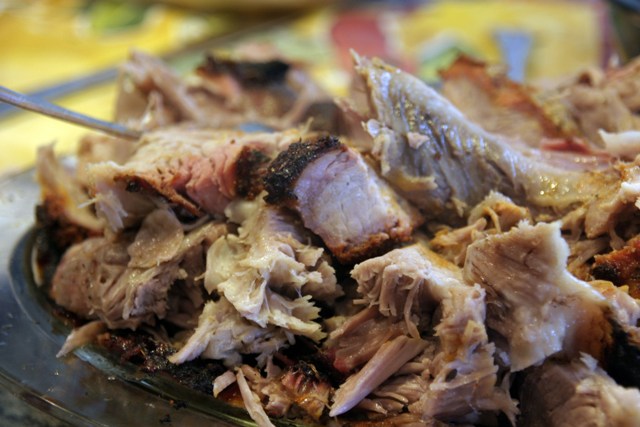
It could have cooked a little longer, but it was delicious!
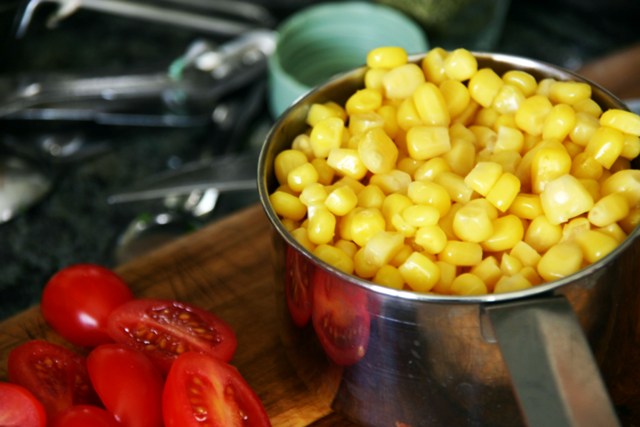
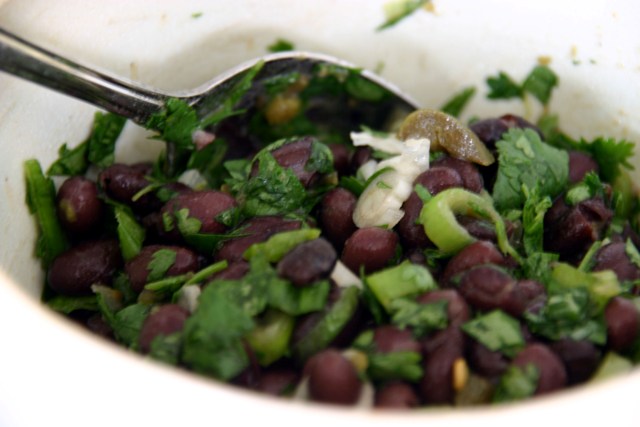
The beginnings of a classic corn and black bean salad
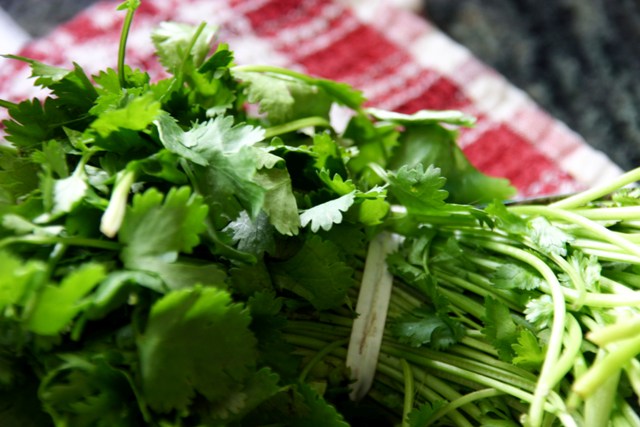
The ingredient of the weekend…cilantro
A little something to keep us going during all this cooking, corn fritatta, with black bean salsa…


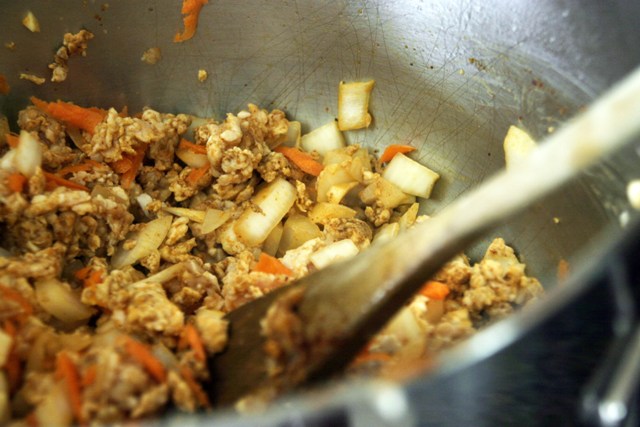
Turkey and vegetable chili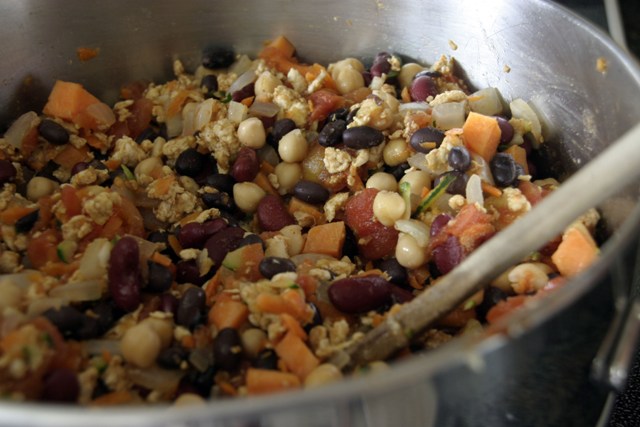
Almost there…
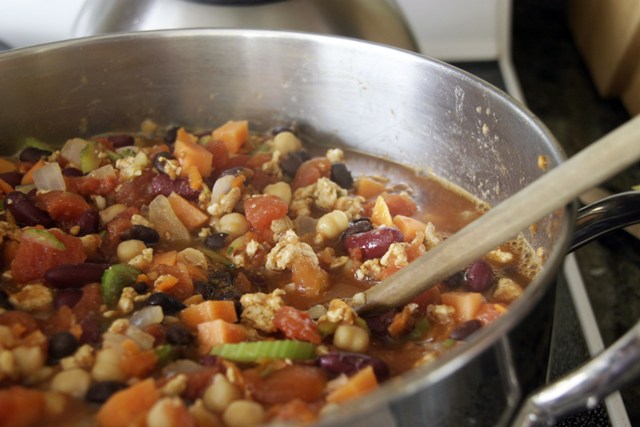
Yup, looks perfect.
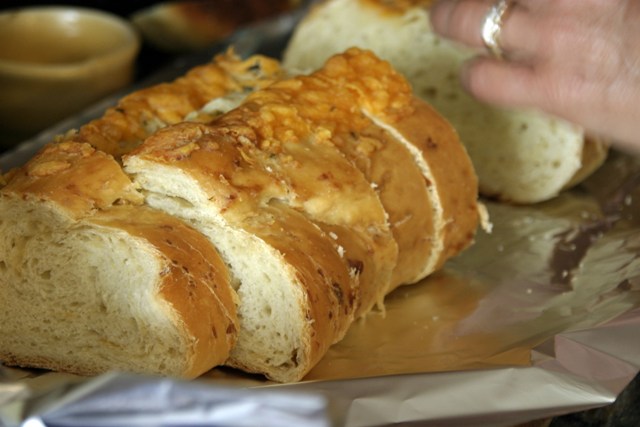
Can’t have chili without garlic bread…
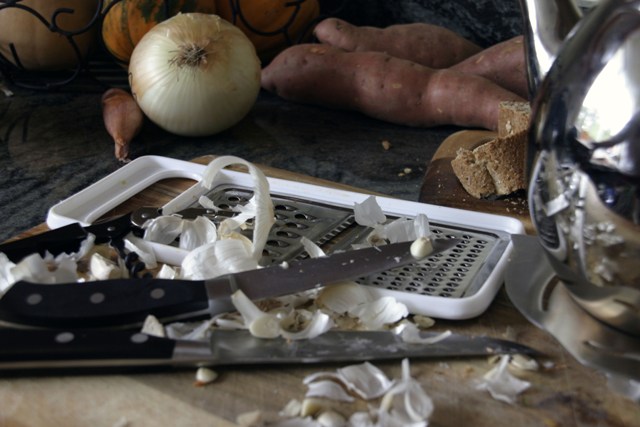
A lot of garlic was grated, crushed and minced for these dishes…
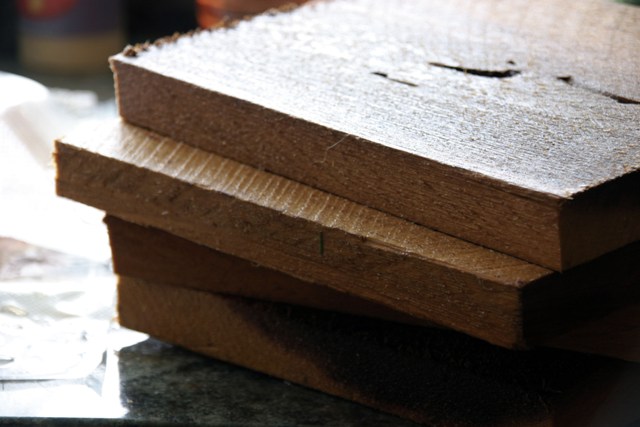
Fresh cut cedar planks for cooking the salmon…
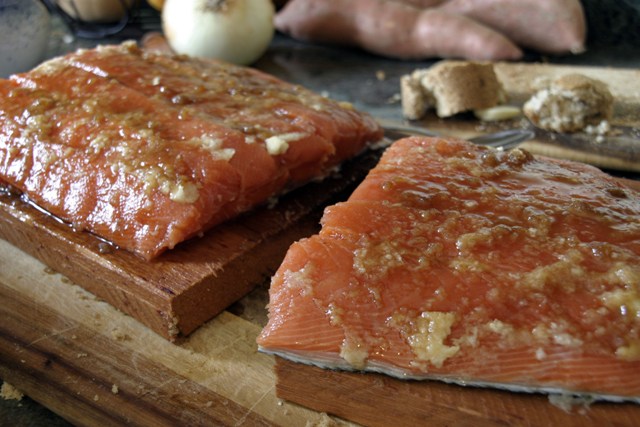
Fresh, local salmon…caught by friends. This one had a brown sugar, dill and lemon marinade.
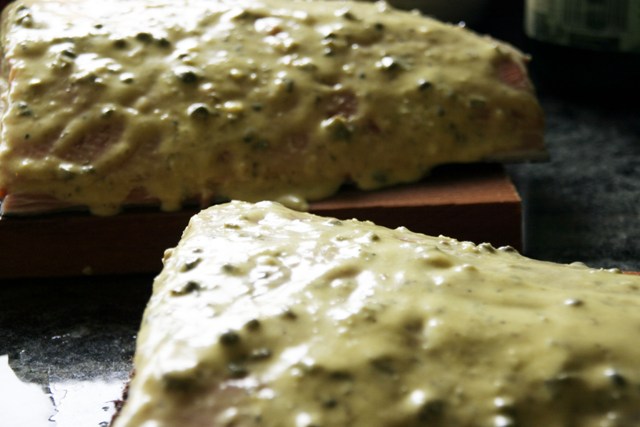
This one had a Dijon, garlic, capers and white wine (recipe follows)
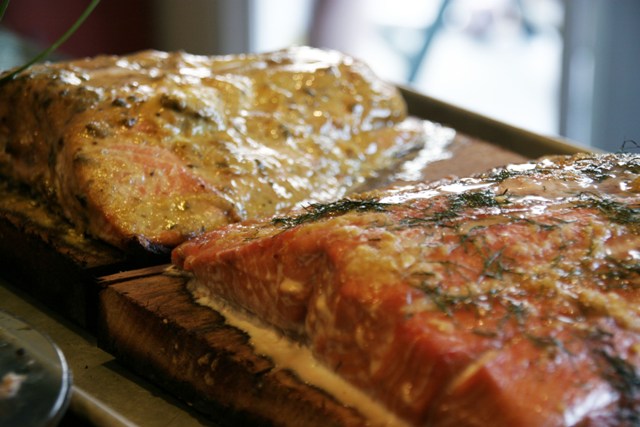
The finished product
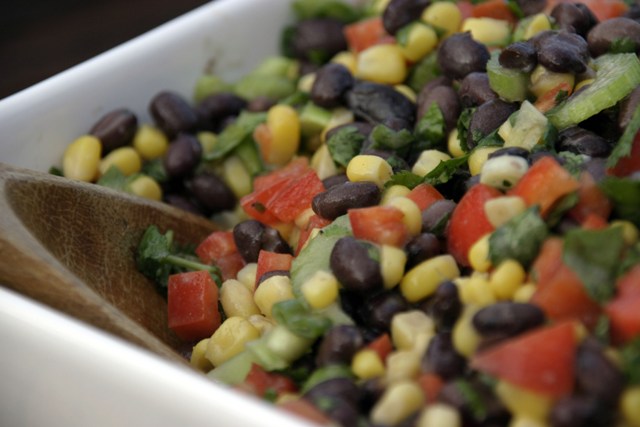
Classic corn and black bean salad
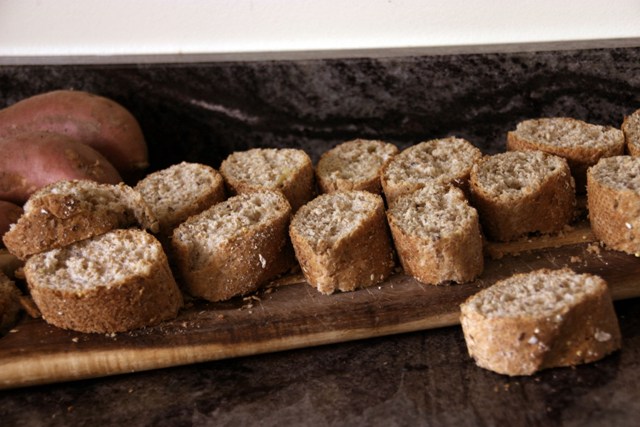
Fresh bread drying for croutons
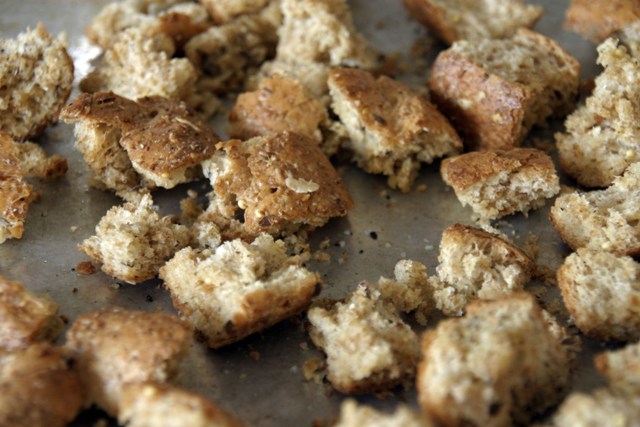
Ready for the oven and a creamy Caesar salad
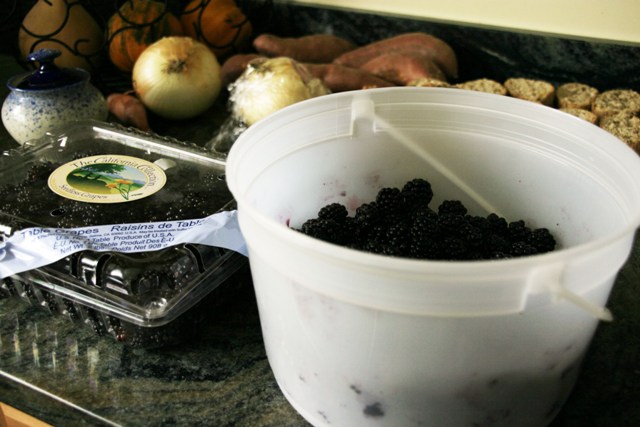
We picked these about 1/2 a kilometer up the road
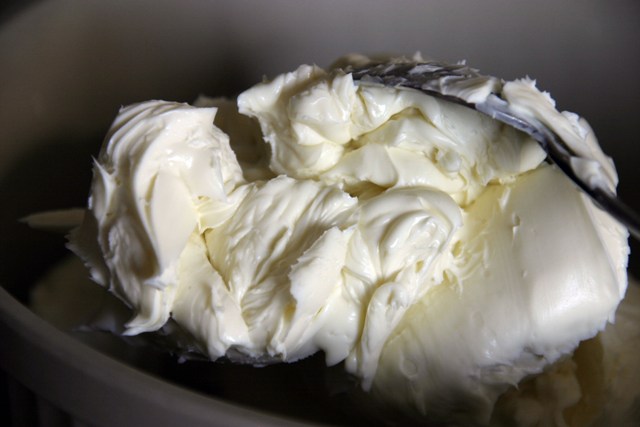
Fresh Mascarpone for Blackberry brulée (recipe follows)
Mascarpone and vanilla beans
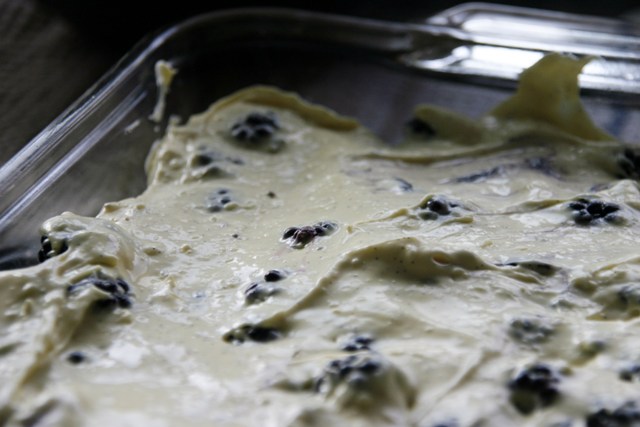
Ready for the oven
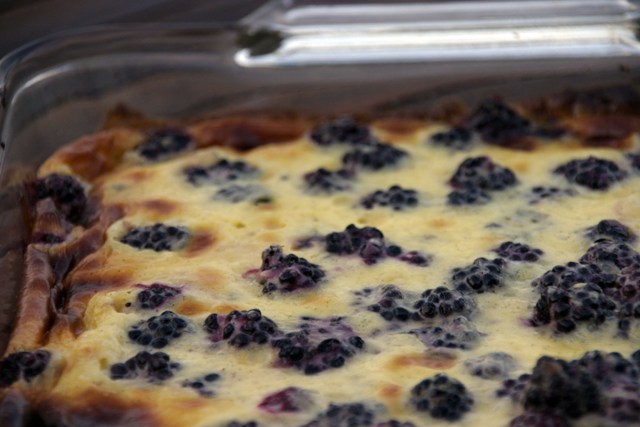
All finished up
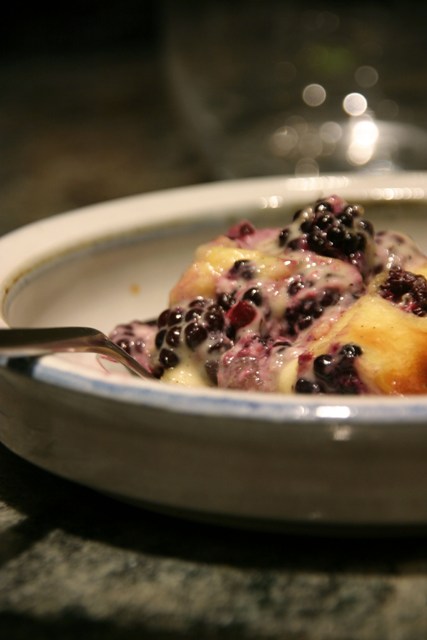
Mmmm….it was sooooo good.
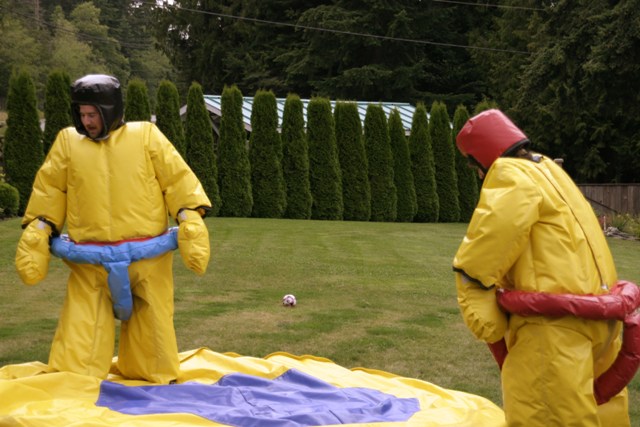
What happens when you get a bunch of strangers together with lots of alcohol and food…
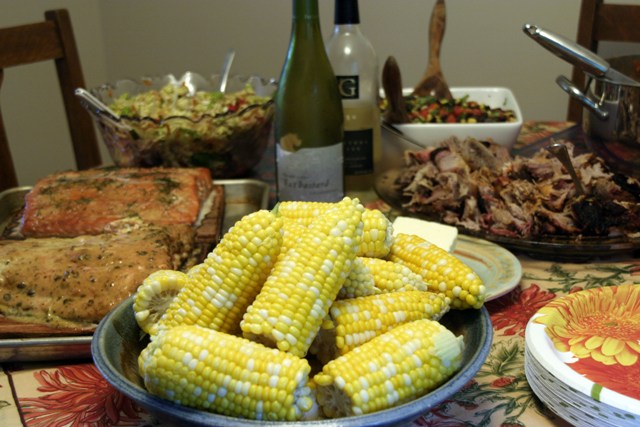
The Smorg
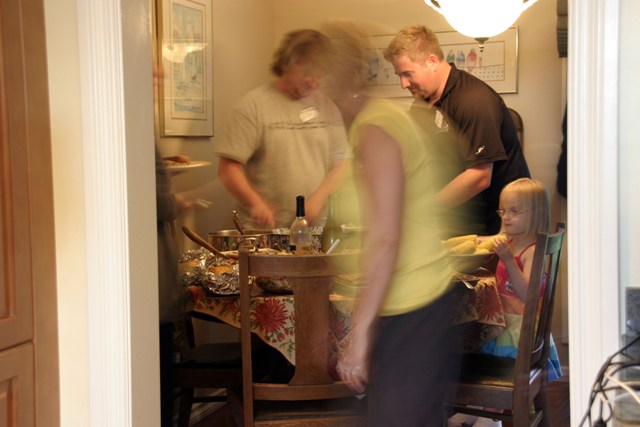
Feeding frenzy!
Blackberry Brulee with Mascarpone
Adapted from The Bon Appetit Cookbook, Special Edition: Fast Easy Fresh
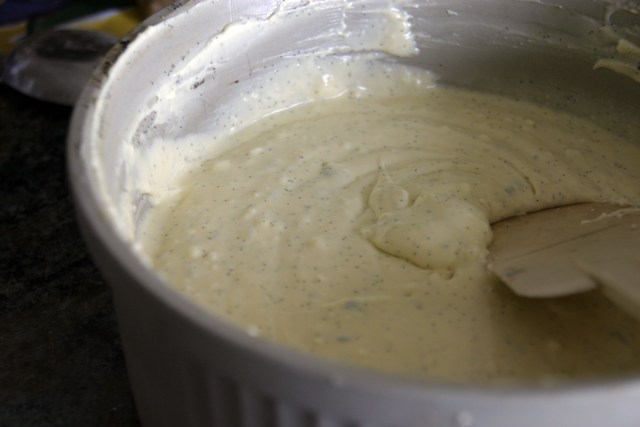
16 oz Mascarpone cheese, room temperature
4 Tbsp powdered sugar
2 vanilla beans
2 eggs
4 cups Blackberries (or other seasonal fresh berries)
1. Preheat oven to 450°F. In a medium mixing bowl, combine cheese, sugar, eggs and seeds from vanilla beans. Mix to combine.
2. In a 9 x 13 glass baking dish, spread berries to cover whole pan. Pour cheese mixture over and spread with a spatula.
3. Bake for 10 minutes or until golden brown on edges. Serve warm.
Salmon Crust
Yield: Enough for 1 large salmon fillet
2 Tbsp Dijon
4 cloves garlic, grated or minced
2 Tbsp. capers, minced
1/4 cup olive oil
3 Tbsp white wine
fresh cracked black pepper
Juice from 1 lemon
1. In a small bowl combine Dijon, garlic and capers.
2. Slowly drizzle oil in to emulsify.
3. Add lemon juice ,white wine and pepper.
4. Spoon over salmon fillets and broil until done to your preference. (I like it medium)
|

Hi! I'm Elizabeth. I like fitness, bad ass tattoos, food, bacon, chocolate, taking lots of silly pictures and my spawn. Check out my FAQ for all the usual Qs or send me an e-mail and tell me all about your cat and your Aunt Sally's amazing apple pie. |


