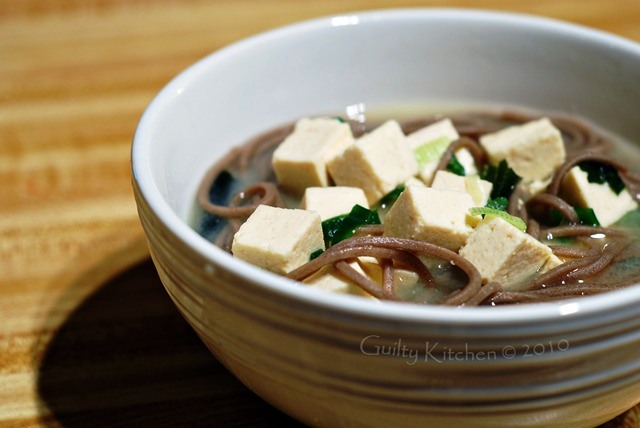
In hectic times, I like to make healthy, quick dinners. Dinners where I don’t need to prepare a day in advance or start cooking in the early afternoon. This meal is a quickie. From start to finish, you’ll be in your kitchen for probably 20-25 minutes. Not only that but it’s a filling and satisfying version of everyone’s favourite pre-sushi appetizer. Oh how I miss sushi. Hurry up and get here baby! Momma wants a big fat dark honey ale served on the patio with a huge platter of all raw fish sushi and maybe a soft shell crab too.
Tomorrow is a big day for us. We are receiving an extra ultrasound, which here in Canada (home of socialist healthcare [!]) is mostly unheard of. We had a little anomaly show up on our last one, so this one should clear it all up. I try not to write too much about our personal lives, as I think many of you would find it boring, but over the past five weeks, I’ve been a stress case of sorts.
I cannot wait for tomorrow so I can finally relax and enjoy this time in our lives. This will probably be our last baby and I want to enjoy every second of it, especially the food.
Wish us luck!
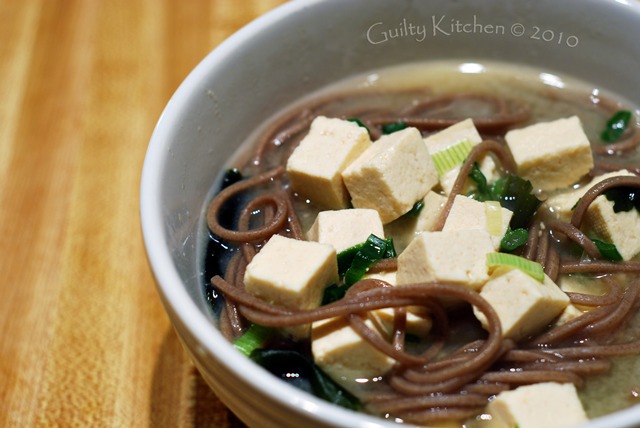
Miso Soup
(Makes 2 large portions)
3 oz Buckwheat noodles
175g Extra firm tofu
1 tsp dried wakame seaweed
4 cups stock (dashi if you have it)
3-4 Tbsp white miso paste
2 green onions, thinly sliced
1. In a medium sized pot, boil a quart of salted water. Add noodles and simmer for 4-6 minutes (for some reason when I make buckwheat noodles they always try to boil over, so don’t keep it at high heat).
2. Drain and cool the noodles with cold running water, drain again and set aside.
3. Cut tofu into cubes about 1/2″ x 1/2″.
3. Bring stock or dashi to a boil, add tofu and lower to a simmer.
4. Remove a 1/3 of a cup of the hot stock and place in a small bowl with the miso paste. Dissolve miso as thoroughly as possible and return to stock.
5. Add green onions and seaweed and allow to simmer for a minute or two (do not boil after putting miso in).
6. In serving bowls, divide noodles evenly. Ladle stock and tofu over and serve.
Wow, it feels like forever since I have been a regular contributor. Sorry about that! I hate to disappoint my loyal readers with a slow few weeks, it’s just been a hectic few. There’s been illness after illness, birthdays, parties, Olympic trips and homecomings. Don’t fret though, I am going to reward those who stuck around with a little taste of my trip to the 2010 Winter Games in Vancouver right now.
What an amazing trip and an experience of a lifetime! Being a local tax payer I was somewhat skeptical for a long time about how the Olympics would affect us, but it’s too late now and I don’t regret being a part of it at all. When I look back at our time spent as a family at such an amazing event, I will be looking back with fondness. “Once in a lifetime” was our trip motto and smiles were plastered on our faces 24 hours a day. A true patriotic spirit is sweeping the city of Vancouver and it is awe inspiring to see it. Walking down a city street filled with more people than I’ve ever seen in my life, all come to one place to share the same things. I couldn’t get over how cool it was. Here’s just a small sample of some of our time spent at the Olympics last week.

Waiting in line with 15,000 other people to see Ladies Freestyle Aerials Qualifying Round

Enjoying a quiet moment at the German Pavilion before lunch rush

Getting our Olympic Spirit in check with big crowds

Some of the less than spectacular views of the Olympic Cauldron, good enough for me…

Downtown Vancouver, Canadian pride can be found almost everywhere

Canadian skier who did not qualify, in her first jump

Enjoying the scenery in Squamish, BC, where we stayed during our trip
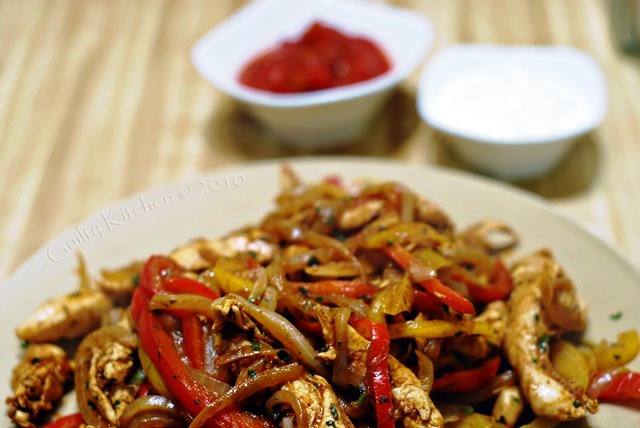
I’ll leave you for now with a simple meal that can be made in 30 minutes or less, no fuss, little mess and a happy family at the end. Chicken fajitas are not something we eat a lot of, but I’m beginning to wonder why that is, they are delicious!
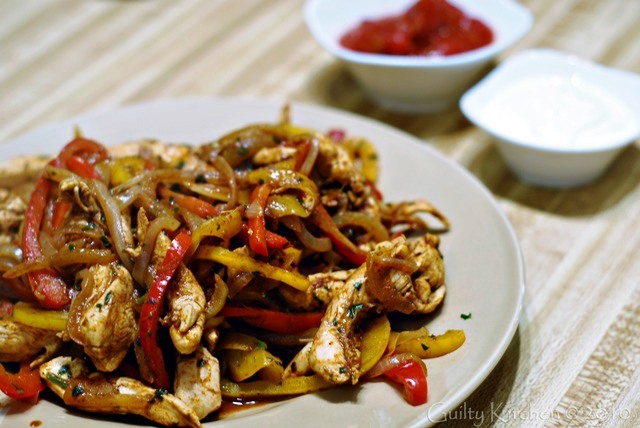
Chicken Fajitas
1 tbsp canola oil
3/4 lb chicken breast fillets (or chicken breasts, cut into strips)
1 red pepper, thin strips
1 yellow pepper, thin strips
1 large onion
1 tbsp chili powder
1/2 tsp oregano
1/2 tsp garlic powder
1 tsp cumin
1/2 bunch cilantro, minced
salt & pepper
1 lime
1/2 cup chicken stock
flour tortillas to serve in
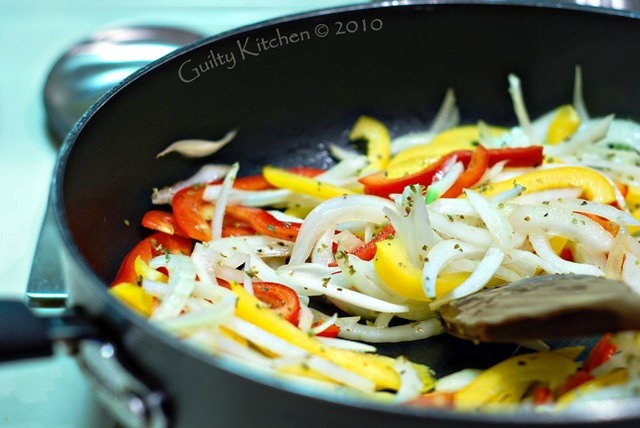
1. In large, heavy bottomed skillet, heat oil on medium/high. When oil is hot, add in peppers and onions. Cook until almost soft.
2. Add chicken, herbs and spices. Stir and cook for a few minutes.
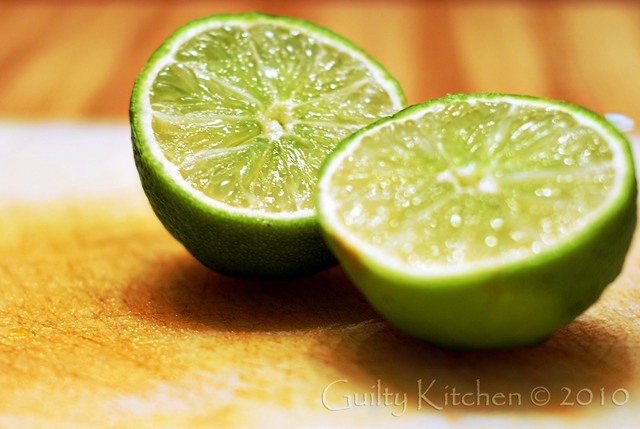
3. Roll lime along cutting board before cutting into it to loosen up all the juices, squeeze over chicken and vegetables. Add in chicken stock as well. Continue to cook until chicken and vegetables are completely cooked through.
4. Remove from heat and stir in cilantro.
5. Serve family style with accompaniments if desired. We usually have sides of salsa and sour cream, but not much else.
What do you think about the Olympics? Overrated winter sports or a great way to celebrate each countries achievements? I’d love to hear what you have to say!
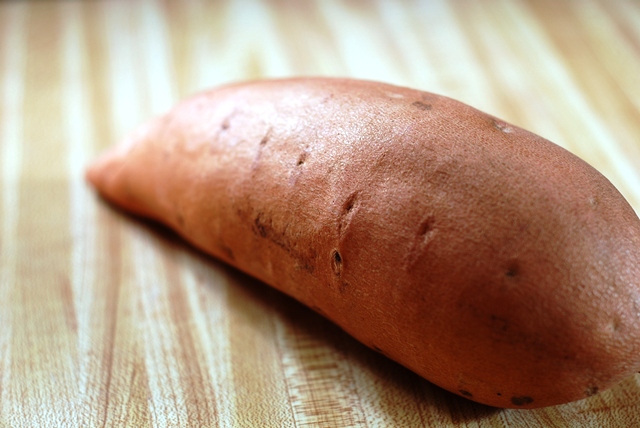
What is a sweet potato? Is it a yam? Are they two different things? Are they related somehow? Has the supermarket grocery chain in my neighbourhood swindled me with clever marketing? The latter would be correct. In today’s North American super markets, what is labeled a yam is indeed a sweet potato. More to the point, it is an orange sweet potato, most likely nestled in right next to the the yellow sweet potatoes.
So what is a yam? A yam is a totally unrelated tuber grown mostly in tropical climates. It is very common in Latin American, African and Carribean markets. It looks like a sweet potato only in shape, somewhat. A true yam can grow up to seven feet long and has brown or black skin resembling the bark of a tree and is generally even sweeter than a sweet potato.
Confused yet? Don’t be. Most unsuspecting shoppers have no idea they are actually buying a sweet potato when it is labeled a yam. True yams are becoming more popular in North America, probably as Latin influences grow.
If you find one, do let me know how it tastes, I’ve been looking for years to try one out!
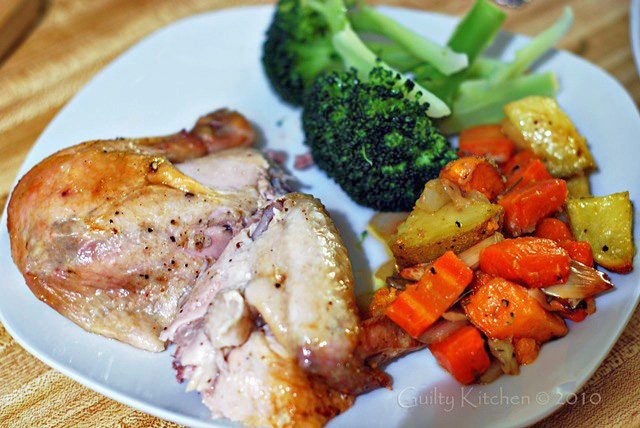
Today I offer you one of my most treasured recipes. As a young chef fresh out of culinary training and on to more difficult tasks, I always treasured the simple meals I could make at home and still impress with. Roasted chicken is a true gem at get togethers and family gatherings. Simple, comforting and delicious, it brings back many memories of home for a lot of people.
Sadly, it seems a lot of people find a whole chicken intimidating, probably more because of the carving step than anything, which comes last. I’ll tell you a secret. If your chicken is cooked to perfection, there is really no need to carve (except the breasts) as the meat will come apart at each joint.
This is the recipe for those that find a whole chicken intimidating. Cooked with fragrant rosemary and stuffed with garlic and lemon, this bird always comes out moist and flavourful, perfect for leftovers the next day too. The secret to the moistness is the temperature it is cooked at and the addition of the lemon to the cavity, which permeates the flesh with it’s citron glory.
I guarantee you will love this recipe, as I have for years, and will be forced to pass it on to all your friends and family as they beg to know the secrets to this perfect bird.
Roasted Chicken and Root Vegetables
1 3lb. roasting chicken
4 small sprigs each fresh rosemary, thyme and sage
6 garlic cloves, peeled and squashed
1/2 lemon
canola oil
Freshly ground salt and pepper
1 small sweet potatoes
2 medium Yukon Gold potatoes
2 large carrots, peeled
1 large onion
1. Two hours before you begin, take the chicken out of the refrigerator to bring it up to room temperature.

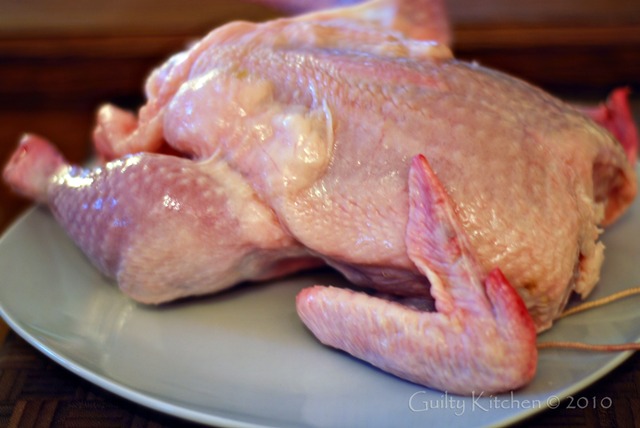
2. Dry chicken with paper towels (alternately you can leave it in the fridge uncovered for a couple of days as well).
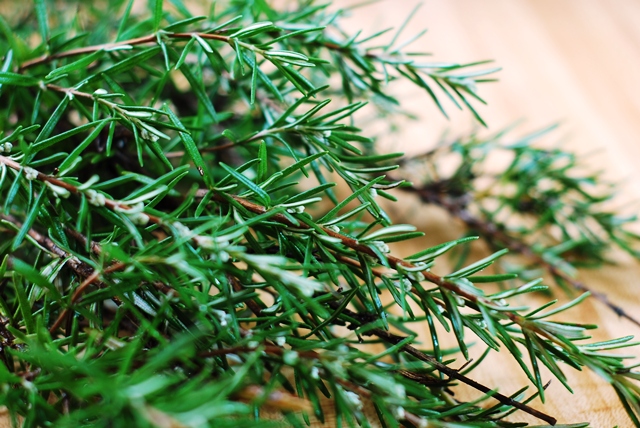
3. Season the cavity with coarse salt and pepper. Put two sprigs of rosemary, 4 cloves of the squashed garlic and 1/2 a lemon into the cavity. Truss the bird if you wish, otherwise, set aside.
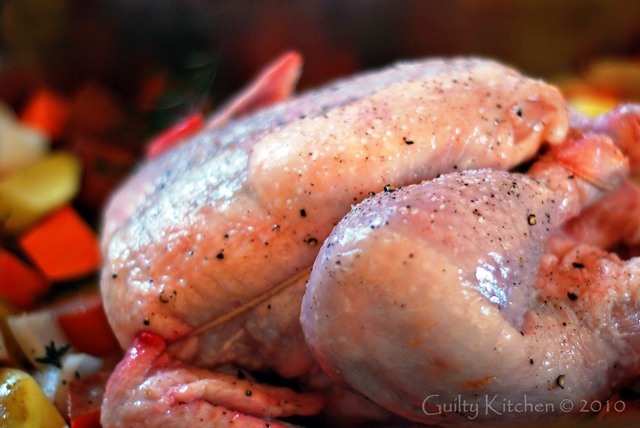
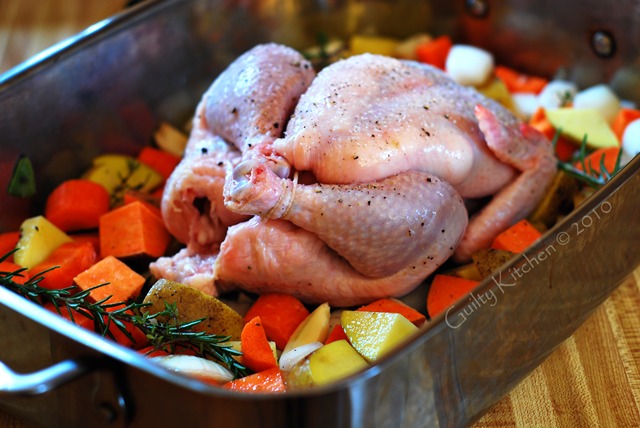
4. Preheat you oven for 425°F. Meanwhile, cut up your vegetables into large chunks about 1 1/2″ square. In a bowl, toss the vegetables with the remaining herbs, garlic and about an 1/8 of a cup of canola oil. Season with salt and pepper and place in a large, deep roasting dish. Clear an area in the centre for the chicken.
5. Rub the chicken with another 1/8 of a cup of oil and generously season with salt and pepper. Place chicken in centre of roasting dish.
6. Roast in 425°F oven for 25 minutes. Then turn the oven down to 375°F and roast for an additional 60 minutes. Chicken is done when internal temperature (measured at the thigh) reaches 165°F.
7. Remove the chicken from the roasting pan and set on a wooden board to rest for 20 minutes. If the vegetables are not yet done, return them to oven and continue to roast while chicken rests.
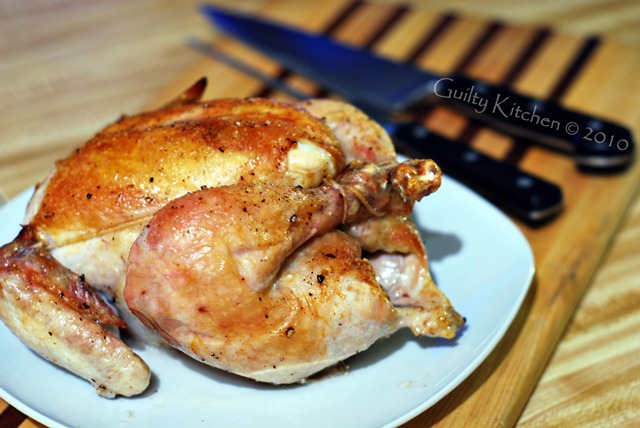
8. Carve your chicken and serve with accompanying vegetables.
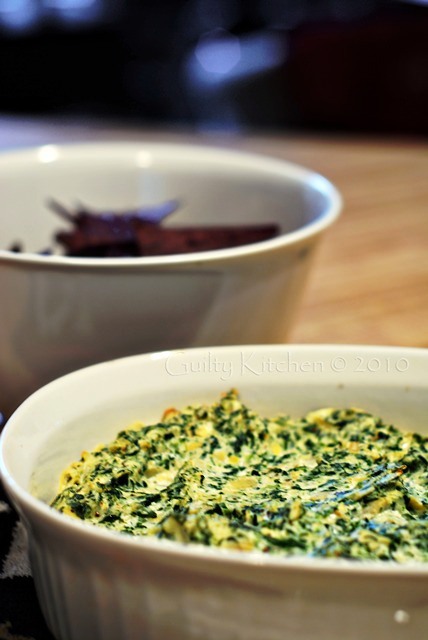
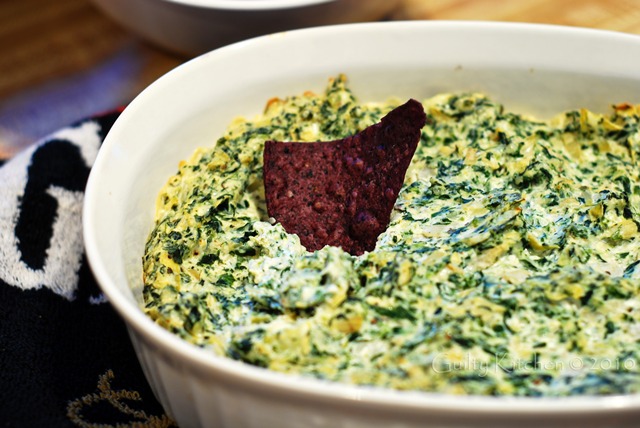
Warm Spinach Artichoke Dip
1 8oz pkg cream cheese (1/2 fat)
1/3 cup sour cream (1/2 fat)
1/4 Parmesan, grated
1/4 cup Romano, grated
1/4 cup mozzarella, grated
2 cloves garlic, minced fine
1 Tbsp fresh basil, minced
1 tsp salt
fresh ground pepper
1/4-1/2 tsp cayenne
1 14oz can artichoke hearts, roughly chopped
1 cup frozen spinach, thawed and drained
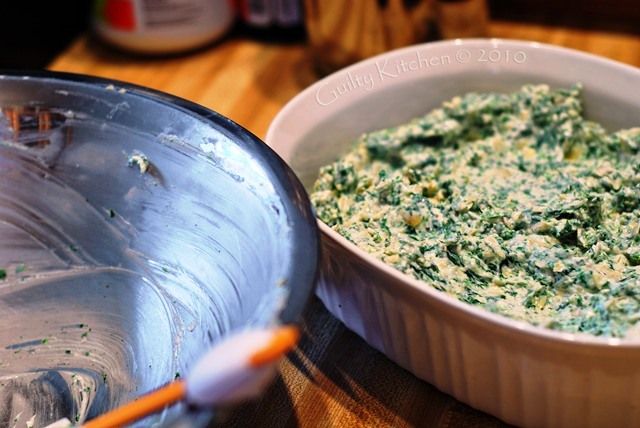
1. Preheat oven to 350°F. Grease baking dish with pan spray.
2. Mix cream cheese, sour cream, Parmesan, Romano, mozzarella, garlic, basil, salt and pepper in a large bowl.
3. Stir in spinach and artichokes. Mix well.
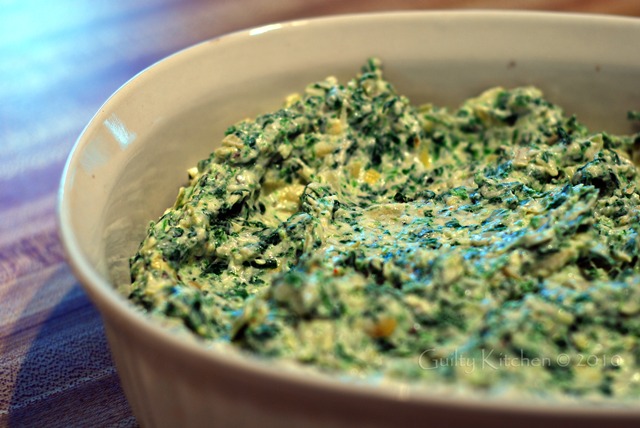
4. Transfer to baking dish and bake in center of oven for 30 minutes, or until browned on the edges.
5. For even more top layer crunch, add another quarter cup of your desired cheese to the top before baking. But remember, this will harden as it cools, making it somewhat more difficult to dip your chip.
Sometimes I just can’t find the time to write a long post, edit food shots and tinker with a recipe. This weekend has been extremely busy with party planning, cake baking and sick people, me included. What I do have time for is to appreciate a little of my off time and share one of those moments with you.
Stay tuned for our regularly scheduled program…

Happy 2nd Birthday to my little tornado….and many more to come.
|

Hi! I'm Elizabeth. I like fitness, bad ass tattoos, food, bacon, chocolate, taking lots of silly pictures and my spawn. Check out my FAQ for all the usual Qs or send me an e-mail and tell me all about your cat and your Aunt Sally's amazing apple pie. |


