Now we all know that things don’t always go 100% as planned. To me this is what experimenting in the kitchen is all about. When you are passionate about food, you take risks with it. You do daring things in the kitchen, you risk ingredient’s lives for recipes you’ve never even seen before, you make things up as you go along, you mix 14 recipes together to get one fantastically awesome product! And yet sometimes, you fail. That’s right, I’m not perfect. I know this comes as a surprise to some of you, but fear not! Things made with any of the following ingredients: sugar, fat, custard, cream or chocolate, will almost 98% of the time, still be edible after a recipe fails them.
My kitchen might as well be called “the lab.” I rarely use recipes, and if I do, like most other food bloggy types, I don’t follow them. It’s simply not in my nature. Try as I might to follow every ingredient and rule, I almost always stray from one or two or all of them.
Now, I wouldn’t go so far as to say this recipe “failed”, it was damn good. But it failed my stringent guidelines for amazing food bloggery goodness. So, if you do decide that you like this recipe and would like to make it, go right ahead. I’m sure it will work fine for you, because I’m sure you won’t follow the recipe.
For the tarts I used David Lebovitz’s French Pastry Dough, which he took from a woman named Paule Caillat of Promenades Gourmandes. So go ahead and follow that to a T. I did, I swear! Okay, the only thing I changed was the tart mould. I used 5 mini tarts instead of one big one.
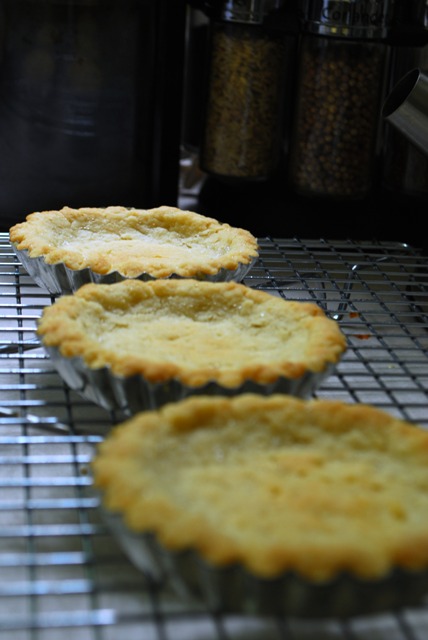
I don’t think I did anything more or less than what David said, except the small tart shells. My shells were VERY flaky. One of them, after gently being turned out of the mould, disintegrated in my hand….poof! They were evil-y delicious though.
On another note, it’s blackberry season Pacific Northwesterners! Go out there and pick your free berries!
Blackberry Cream Tarts
For the Pastry Cream
adapted from joyofbaking.com
1 1/4 cups whole milk
1/2 vanilla bean, split
3 large egg yolks
50 grams sugar
20 grams AP flour
3 Tbsp cornstarch (This is where I think the recipe should be altered, I’m thinking 2 Tbsp is more than enough)
3/4 Tbsp liqueur ( I used Grand Marnier)
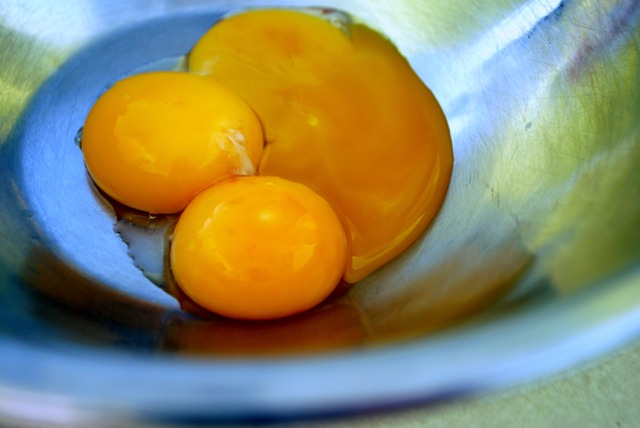
1. Mix egg & sugar in medium sized bowl. Sift flour and cornstarch into sugar mixture, then set aside.
2. In heavy bottomed saucepan, combine milk and vanilla (I scraped the seeds into the pot and added the pod in as well). Heat over medium until boiling. When milk begins to foam a bit, remove from heat and strain into a glass measuring cup with pour spout.
3. Add slowly to egg mixture, whisking vigorously, vigorously!!
4. Place mixture back into saucepan and cook over medium until boiling again, whisking very fast to avoid lumps. When it boils, continue to whisk until it thickens up. Immediately pour in your liqueur and mix in.
5. Pour into a small bowl and cover the surface with plastic wrap to keep skin from forming. Cool.
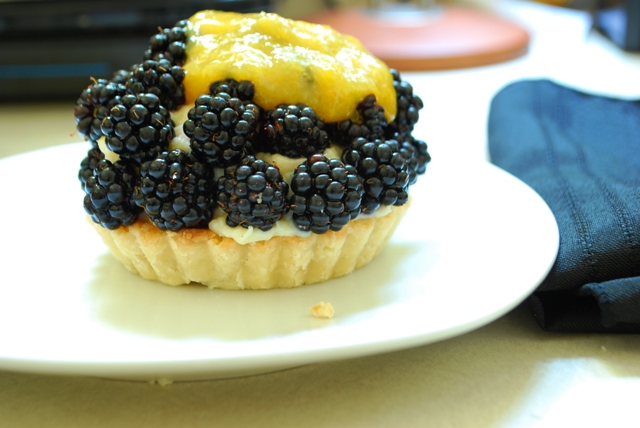
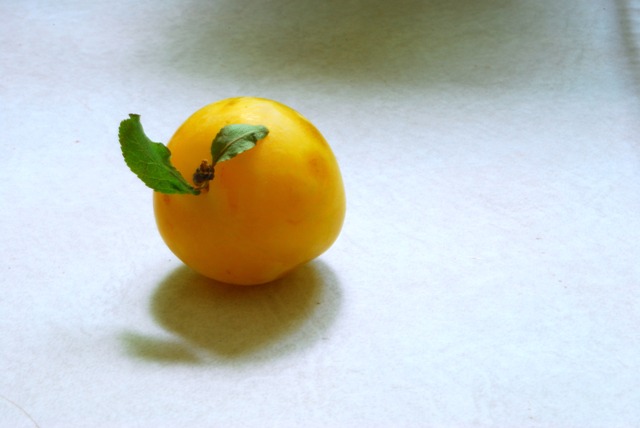
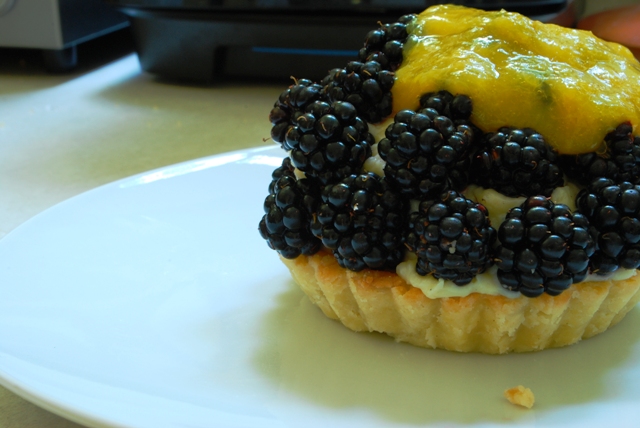
To assemble the tarts, pipe pastry cream into tart shells and sprinkle with blackberries, pushing them in a tiny bit to keep them on your tart. I also made a little golden plum coulis to pour over our tarts which was simply 4 small golden plums (skins peeled off) cooked with 1 Tbsp of sugar until thick. Pour over tart or scatter on serving plate as garnish.
Now, to explain the pictures. My pastry cream was thick. Way too thick to pipe. It clogged up my pastry bag and wouldn’t come out, so I had to glop it on. The first spoonful was huge and when I tried to get some off to make them smaller, the tart shell started disintegrating. So I just made them huge! It was Sunday night after all, the perfect end to another great weekend!

When I go grocery shopping, I have lists. Long lists. Lists of ingredients for every meal I will make in a week, planned in advance, so that I don’t go out of control in the grocery store. I could go crazy in there…
When we were a young, childless, dual income family (DINKS! Dual Income No Kids), I used to shop without lists. I’d just roam through the store, buying anything and everything I had the slightest inkling to buy. I loved it!
Nowadays, things are a bit tighter and regimented. But sometimes I write stuff on the list that I don’t need. Maybe I think I might need it by the time I go shopping, who knows what I was thinking. My unconscious mind is really just trying to get me to “buy more! Like you used to! Buy stuff and make lots of expensive food!”
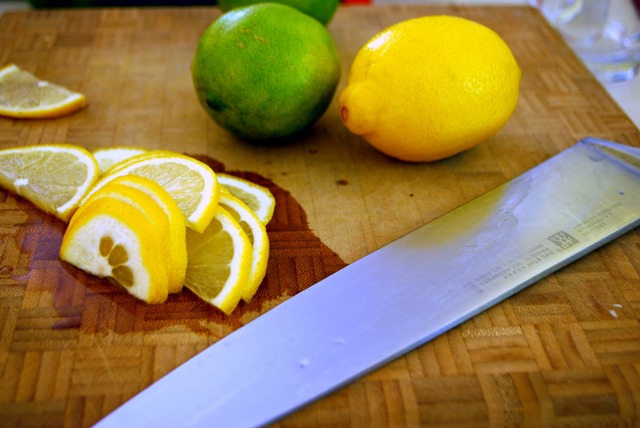
And so it was last week, where I found myself with a dozen each, of lemons and limes. What to do with all these citrus fruits? I didn’t want to buy additional supplies to make baked goods, but I also wanted something new and delicious.
Well, we also, just happened to have a bottle of Summerhill Winery’s Cipes Pinot Noir Brut. Someone gave it to us a while back, but we don’t usually drink sparkling wines, especially pink ones. And so, it gathered dust in the pantry, just waiting for a moment like this!
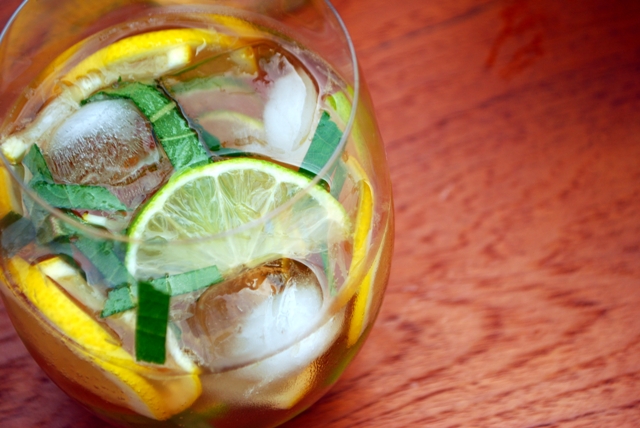
And so I give you my Mojito inspired Sangria with lemons and limes. Summery goodness!
Mojito Sangria
Yield: 1 litre
2 each lemons and limes
1/4 cup agave or 1/3 cup sugar
pinch of salt
1/4 cup chiffonade of either basil, mint or pineapple sage (I used pineapple sage)
Booze: 2 oz flavoured vodka. (Here’s where you can personalize. I used the last dregs of a bottle of Absolut Grapefruit Vodka, but I’m sure you could use any citrusy booze. Lemon, lime, or orange flavoured, you could even use Limoncello if you have it lying around.)
1 750 mL bottle of sparkling dry wine (white or pink)
1 cup ice
1. Halve fruit lengthwise, and slice very thinly, deseeding as you go. Combine in bowl with sweetener and herbs. Let stand at least one hour.
2. Pour fruit into pitcher, add booze and ice, stir and serve!
Nothing says summer like a nice, big bowl of……hot soup? I know what you’re thinking, but this soup will seriously change your mind.
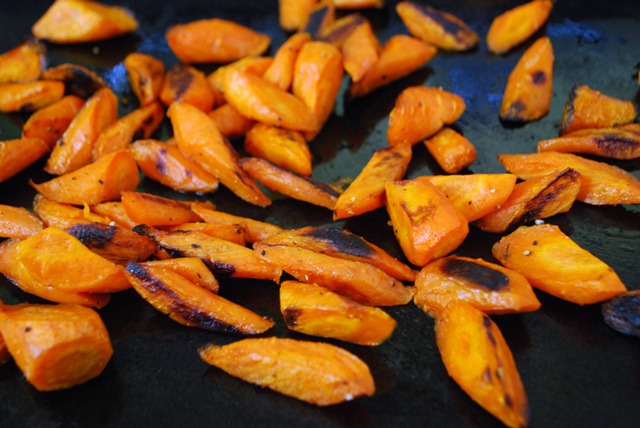
My in laws went on vacation this week and left us to look after their garden. Also, they asked us to clean out their fridge. What should I find but a large bag of delicious, bright orange carrots! Again, I know what you’re thinking. Big deal. Carrots are a kind of silent sideshow act. Deemed not worthy of front and centre placement. There’s carrot bread, cake and muffins…there’s carrots gratin, carrot kugel, glazed carrots. But really, it’s just a wee little root vegetable.
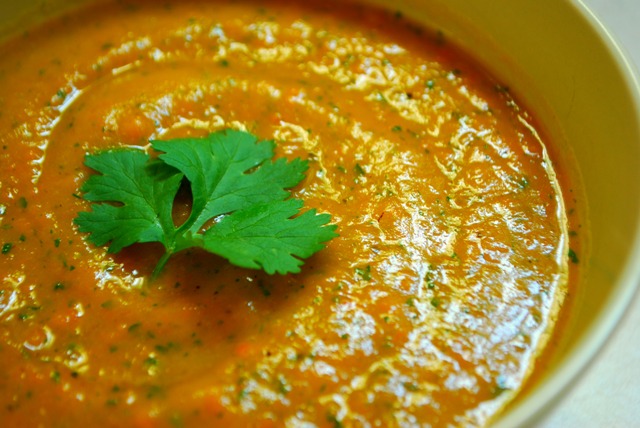
Not so anymore! This soup brings all the wonderful flavours of sweet, sugary, carrot goodness and pairs it up with one of my favourite summertime tastes, cilantro. You usually see carrot soup with cumin (yup, that’s in there too) or coriander, cilantro’s spawn. Rarely, if ever, do you see these two together, but it’s like they were born to be in this soup.
I think you could probably do this without roasting the carrots, but it has a very meaty texture and flavour borne out of caramelizing those sugars. So just do it okay?
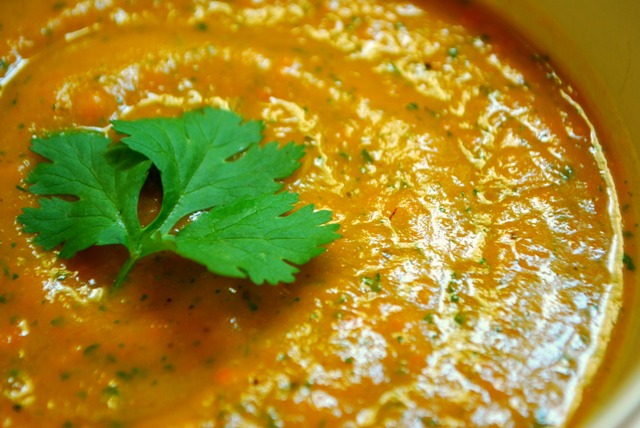
Roasted Carrot & Cilantro Soup
Yield: Approximately 1 litre of soup
Prep Time: 20 minutes
Cooking Time:40 minutes
1lb. carrots, peeled and uniformly sliced
1 tsp. veg oil
salt & pepper to taste
1/4 tsp. cumin
1 small onion, roughly chopped
1 Tbsp. veg oil
3 small potatoes (I used 3 small nugget or new potatoes)
900mL low sodium chicken broth
1/2 bunch cilantro (I use just the leaves)

1. Preheat oven to 400°F. Toss sliced carrots in 1 tsp. veg oil, salt, pepper and cumin. Roast in the centre of your oven for 30 minutes, turning once during cooking. Remove when slightly caramelized or blackened (don’t worry, they aren’t burned!). Set aside.
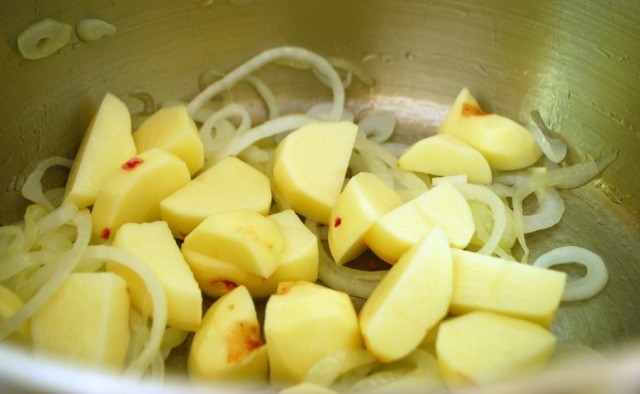
2. In heavy bottomed saucepan, sauté onion on medium heat in 1 tbsp of oil. Meanwhile, peel potatoes and cut into large chunks.

3. Once onions have turned slightly translucent, add potatoes and sauté for about 10 minutes.
4. Add the stock and crank up the heat. Once boiling, lower to a more manageable simmer. Keep simmering until the potatoes are almost done, then add the carrots that you roasted into the pot. Cook just enough to warm the carrots up, then remove from heat.
5. Pour soup into blender or food processor in batches (or use your immersion blender you kitchen gadget freak you). Add in your cilantro at this point as well. Blend it all up until it’s as smooth as you like.
6. Return soup to saucepan and reheat. Serve with crusty bread for dippin’ and maybe a swirl of sour cream or crème fraîche for you fancy people.
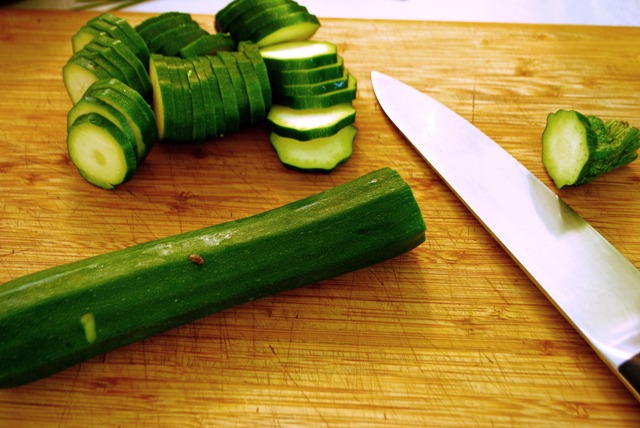
Zucchini season has been among us for a while now, as I can easily see by scrolling new recipes popping up on the intraweb everywhere. Stuffed zucchini flowers, zucchini bread, succotash, etc. But, I’m not the biggest fan of zucchini. I like it alright, especially raw, dipped in a little bleu cheese dressing….mmm mmm good! But that’s not everyone’s cup of tea. So, braving the grocery store a few days ago (I know, boo! hiss! Not from the farmer’s market??? Well, the added 35 minute drive to the farm stands costs more than the 2 block walk to the grocery store okay?? Besides, my grocery store buys local, so ha!), I bought two little zucchinis. I would much rather have stolen them from the communal bushes outside my doorstep in our townhouse complex, but they aren’t ready yet. Late bloomers I guess. Soon!
Anyway, on to the recipe. I had mentioned earlier in the week, to my husband, that I wanted to make polenta. I love polenta. It’s so creamy and delicious. I haven’t made it at home for a very long time though, if ever for my husband…whoops! When you get it at restaurants here, it tends to be a very solid, dry lump cut into a wedge and served with some kind of topping. Barring that, it is merely a pedestal for some other ingredient in the dish. Well, I decided to make polenta the centrepiece of this dish, at least taste wise.
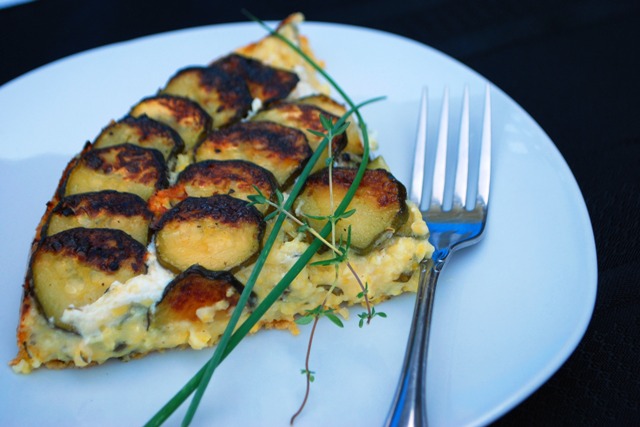
This was a great experiment in cooking with polenta and it turned out just fantastic to me, creamy and moist. If you like yours a little drier, I would suggest baking for longer, say 60 minutes or more.
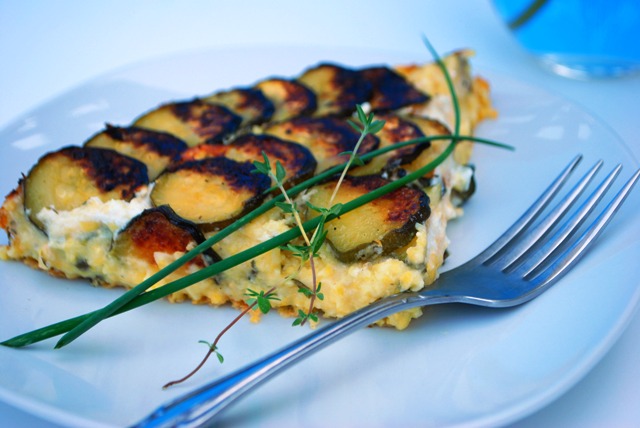
Zucchini Tarte Tatin with Polenta
4 cups water or low sodium broth
1/2 tsp salt
1 cup whole grain cornmeal (medium to coarse grind)
2 small zucchini (approximately 6″ each)
1 tsp. veg oil
salt and pepper to taste
2 oz. Chèvre
1/2 cup asiago, grated
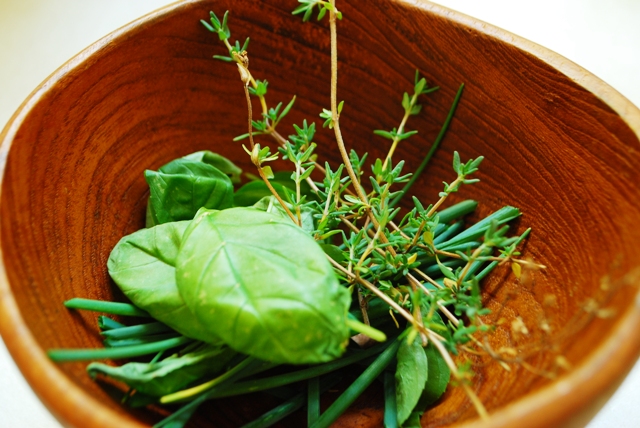
1 Tbsp each of fresh thyme, chives and basil, chopped
1 egg, beaten (room temperature)
1. Bring water and salt to a boil, whisk in cornmeal a little at a time to avoid clumps.
2. Cook over medium high heat for 2 minutes, whisking constantly.
3. Reduce heat to low and cover. Cook at a low simmer for 45 minutes. Stirring every 5-10 minutes for at least 1 minute.
4. Meanwhile, slice your zucchini into 1/4″ rounds.
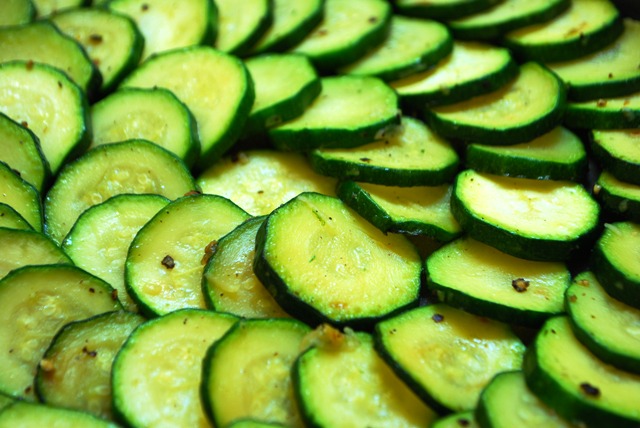
5. Add oil to skillet and heat to medium high. Add zucchini and salt & pepper. Sauté for 6-8 minutes (or until slightly softened).
6. Grease an 8″ round baking dish. Arrange cooked zucchini in concentric circles around bottom of dish. When finished, crumble chèvre over zucchini. Preheat oven to 400°F.
7. After 45 minutes, remove polenta from heat & stir in cheese and herbs.
8. Let stand 15-20 minutes, add beaten egg and stir quickly to combine.
9. When polenta is ready, pour gently over zucchini. Spread evenly with spatula.
10. Bake for 40 minutes for a soft centre. Longer if you want it more set.
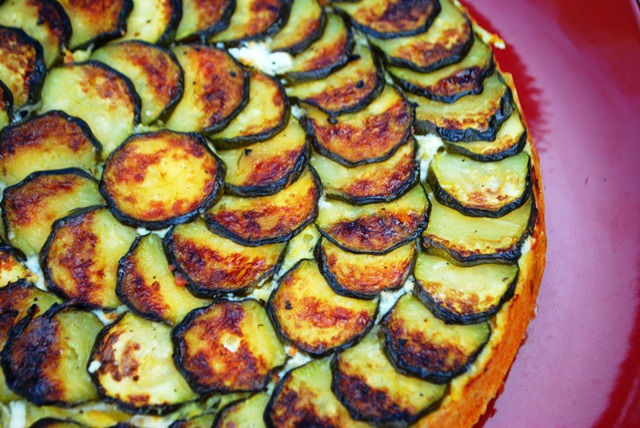
11. Take tarte out of oven and slide a knife or spatula around the edges to loosen. Place a large round plate on top of baking dish and flip everything over together to get the tarte out.
12. Serve with a green salad for a nice light dinner.
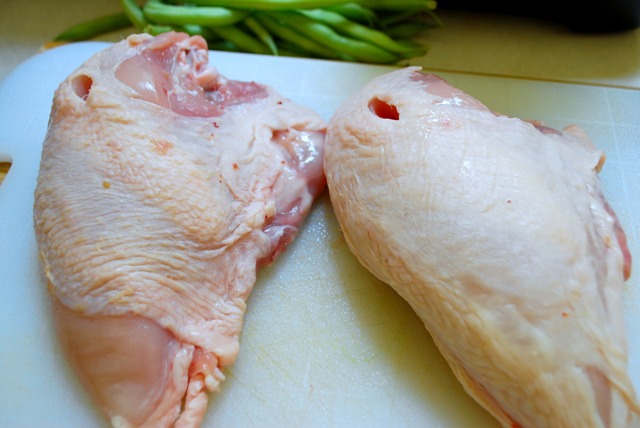
I always find that I am trying to make creative recipes for sprucing up your everyday chicken breast. It’s the old stand by, although no longer a cheap one, at least not in my neck of the woods. It’s also diet friendly, heart healthy, blah blah blah. Well, the Husband and I took a little trip to our favourite butcher shop today and picked up a couple of things. One of those things was a whole (as in both sides) bone-in chicken breast. This is a very budget friendly way to buy chicken breast. The butcher has barely done anything, and so you get the added bonus of keeping more money in your wallet.
I think some people may be intimidated by a little bone, seeing as the majority of the meat in the meat department is boneless. Don’t be afraid of the bone ladies (and gentlemen)!
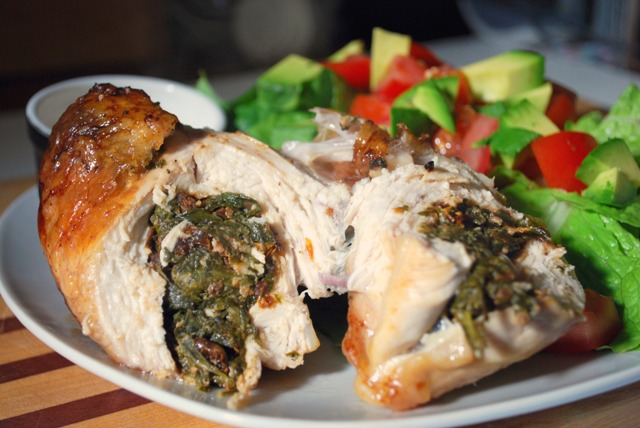
Well, here is a great, easy way to turn those boring chicken breasts into a heavenly meal.
Chèvre, Spinach and Sundried Tomato Stuffed Chicken Breasts
2 Chicken breast halves, bone-in (skin is optional)
4 cups baby spinach, loosely packed
1 oz. sundried tomatoes
2 medium sized mushrooms, chopped
1 clove garlic, minced
1 tsp. veg oil
salt & pepper
2 oz. plain Chèvre (soft, unripened goat’s milk cheese)
1/4 cup basil, loosely packed and chiffonaded
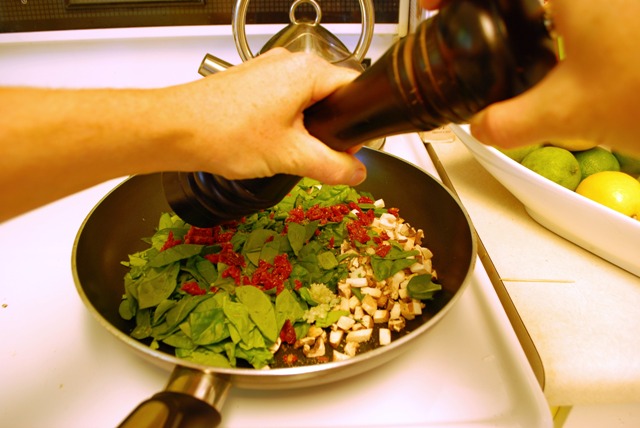
1. Loosely chop spinach and sundried tomatoes.
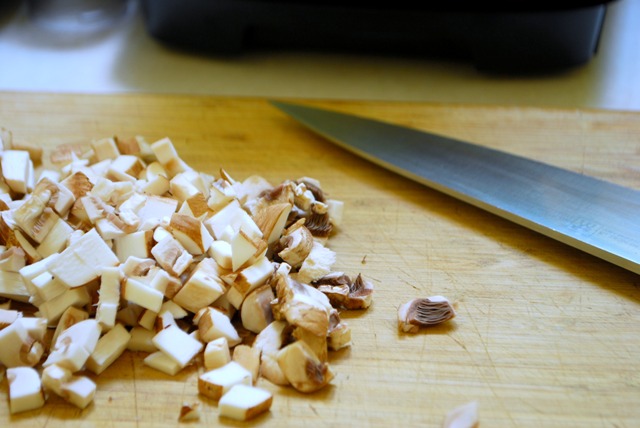
2. In Skillet on medium heat, sauté oil, garlic and mushrooms until softened. Add in spinach, tomatoes, salt and pepper. Cook until spinach is completely cooked, about 5 minutes.
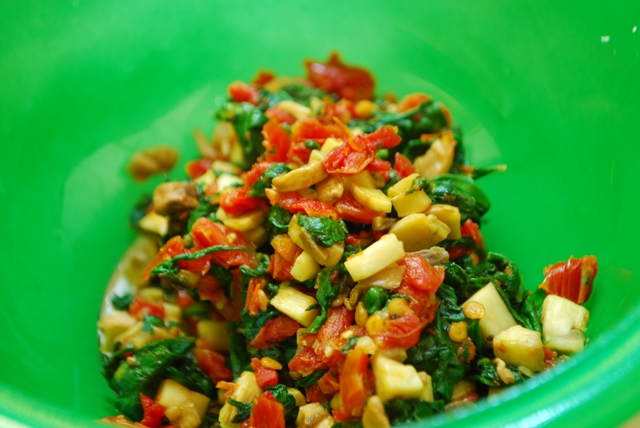
3. Remove mixture to bowl. When slightly cooled, add in Chèvre and basil and mix to combine. Set aside.
4. If using a whole breast of chicken, you must split it down the center now. Using a boning knife, meat cleaver or large chef knife, cut down the center of the cartilage. It should be very easy.
5. Cut a 1 inch slice in thickest part of breast.
6. Now here’s where it gets a little, uh, weird. Stick your finger in the whole and wiggle it around a bunch to make a pocket. Be very careful not to go all the way through though! You don’t want the stuffing to come out while it’s cooking.
7. Now’s the fun part! Cram all that stuffing into the breasts. Really, you can get it all in there! I swear! I did it…
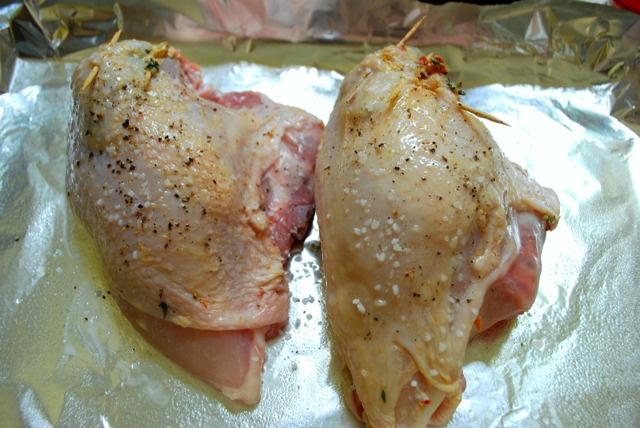
8. See. Now you just have to close up the holes with toothpicks so none of it escapes during baking. It’s kind of like sewing. Just go from one side of the skin to the other, and then you’re good. Rub some oil on the outside and a little salt and pepper too.
9. Bake in a 375°F oven for 45-60 minutes. Let stand 5 minutes before cutting into it.

|

Hi! I'm Elizabeth. I like fitness, bad ass tattoos, food, bacon, chocolate, taking lots of silly pictures and my spawn. Check out my FAQ for all the usual Qs or send me an e-mail and tell me all about your cat and your Aunt Sally's amazing apple pie. |


