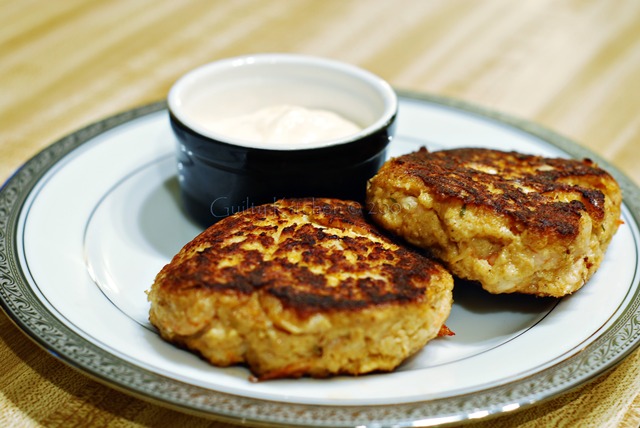
Well, I finally had to do it. I had to add watermarks to my pictures. Why? Rampant theft and violations of clearly stated copyrights. It’s sad isn’t it? I’ve found people taking credit for my recipes from Tokyo to Russia and everywhere in between. The worst is finding my recipe AND the accompanying pictures being displayed under someone else’s name. Now, at first I shrugged it off as part of being an online presence, but then it started to really bother me. I mean, I work hard at creating these recipes and I work even harder on taking good pictures and then spending valuable time editing them. It’s only fair that my name is glued to them permanently. So now I am going to literally plaster my name all over them..although I’m still working on how it looks. What do you think? Personally, I’m not really a big fan of watermarks. Although sometimes they add an air of professionalism, mostly they can take away from an otherwsie beautiful food shot. I hope you won’t mind too much! As for the recipes, I will just have to continue scouring the internet for people stealing recipes without accreditation.
As for this recipe, I hope you love it! I am a huge seafood fan, as you may have noticed. I especially love when I can dip it. Prawn cocktails, popcorn shrimp, fish and chips, sushi, tuna steaks, etc. are all dippable! Sadly, the crab in this recipe is canned, but if you have access to fresh, I would take that any day. Although Dungeness crab (the main staple here) is available all year round, the peak is from May to October, and it’s not usually so budget friendly. In summer, when we can walk the harbour piers ourselves and buy the crab fresh off the back of a boat, then I will make these again. Always use what’s seasonal as it usually tastes a lot better than when it’s been harvested out of season. Canned is not comparable to fresh, but in a pinch (and in a recipe like this) it’s hard to tell the difference.
My husband complained that these weren’t “firm” enough for him. If that is an issue for you, reduce the mayo and increase the bread crumbs until you achieve a consistency more to your liking.
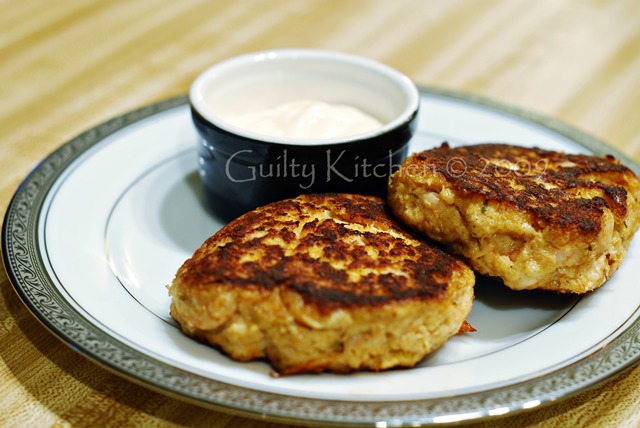
Crab & Shrimp Cakes with Lemon Aioli
120g Crab meat (preferably leg meat)
150g shrimp
1/4 tsp cayenne pepper
1 tsp Worcestershire sauce
1/2 tsp thyme (dried or 1 tsp fresh)
1 Tbsp Dijon mustard
1 egg
1/3 cup light mayonnaise
3/4 cup bread crumbs (panko works great)
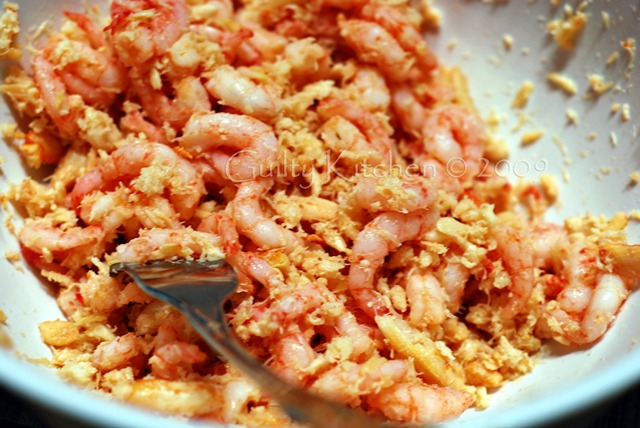
1. Mix all ingredients in small bowl.
2. To prepare: Heat sauté pan to med/high and add a small amount of butter (1/2 Tbsp). Form cakes and set in hot pan. Fry for 4-5 minutes fer side or until golden brown and cooked through.
3. Serve with Lemon Aioli (Recipe follows).
Lemon Aioli
1/2- 1/3 cup light mayonnaise
zest from half a lemon
juice from half a lemon
salt and pepper to taste
1. Mix all ingredients in small bowl and allow to sit in refrigerator for 30 minutes prior to serving.
So here we are again. Another less than elaborate meal, or should I say “side dish”, because really, this would not be a very filling meal. I am in that lazy, tired, sleep 10 hours a day, go to bed at 8pm every night stage of being “in the family way” as my dear husband puts it. As I said before, the less time spent making meals, means I have more time for what I really need to do, like spending valuable play time with the first babe, or surfing the ‘net for the best deals on a new stroller….oops, did I say that? What I meant was, surfing the internet for valuable information on…….ah, forget it.
I am getting ready to bake my Christmas goodies, and by getting ready I mean buying the boxes and the first three ingredients. Making up the recipes and actually baking them? Well, I haven’t gotten that far yet. I have some really good ideas people, but less than stellar energy levels needed to execute such feats of kitchen fortitude. Fear not though, I can feel some inspiration as I’m typing. Shortbread is pretty easy, I think I’ll tackle that one first!
On a completely different note, I am about to go deep into some self promotion here. Just a warning. One of my favourite “Food Porn” sites, Refrigerator Soup, loves me so much, they have me featured on their “20 Questions with Your Favorite Food Bloggers” section of their website. So if you don’t know enough about me already, please feel free to learn even more amazing facts on their feature page.
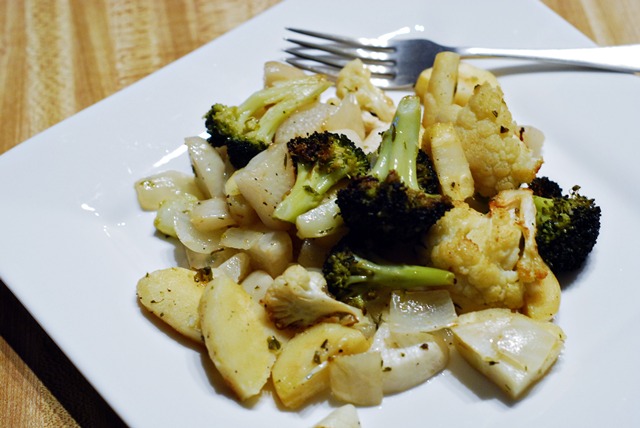
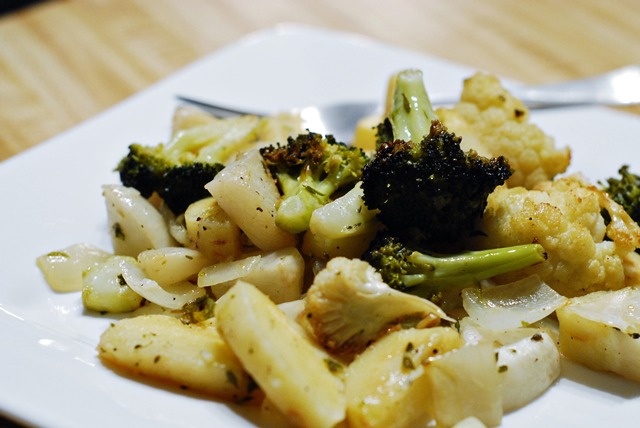
Roasted Winter Vegetables
1 small onion
1 large parsnip, peeled
3 small purple top turnips, peeled
1 small broccoli crown
1/2 head cauliflower
1 Tbsp fresh herbs, minced (I used oregano and thyme, because that is what is still alive outside)
1/4 cup butter
1 clove garlic, minced
salt & pepper
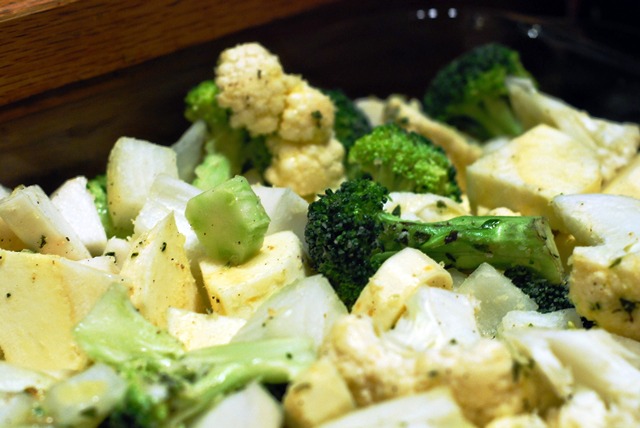
1. In a small saucepan, melt butter and add herbs and garlic. Simmer until all is melted and fragrant. Set aside.
2. Cube veggies into chunks about 3/4″ x 3/4″. Toss in large bowl with melted butter/herb mix, coating as evenly as possible, season with salt and pepper.
3. Fill a shallow glass baking dish (9 x 13 works good here) evenly and roast at 375°F for 1 hour and 15 minutes. Toss every 20 minutes or so, to evenly roast.
4. Serve along side delicious winter meals, such as roasted fish, slow cooked pork roasts, game meats, etc.
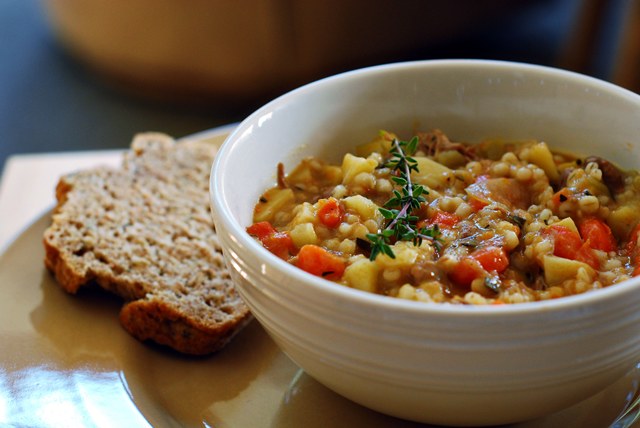
Now that I’m “with child”, I am finding that I want to spend less time in the kitchen. I want to enjoy every minute I can with my son right now, while it’s still just the three of us. Soon he’ll be sharing every moment with a little, crying, squirming stranger. Although he shows lots of curiosity towards babies, I doubt it will be the same when the baby is taking Mommy away. Also, it’s winter, and to me, that means stew. I love a good hearty, body warming bowl of filling stew. Full of complex flavours and so thick it needs to be chewed, this is the perfect winter warm up.
These days, around here anyway, the ground is covered in a thick layer of frost every morning. So thick, it almost looks like it snowed, but no such luck yet. I can only hope for that lifelong yearning of a “white” Christmas. The house is full of decorations, our brand new tree was chopped down only yesterday and the house smells of Grand Fir. I love it. When I come downstairs to go to the bathroom every two hours at night, I smell all my childhood Christmases. It’s fantastic, and I can only hope that this brings as much joy as years gone by. I have to say though, there’s no better present than finding out you are expecting the unexpected. This new baby brings with it so much joy, and I can’t wait to share it all with you.
Look forward to the next weeks, as I prepare my annual Christmas gifts. Baking! Not just cookies, but all sorts of goodies for everyone on your list.
Lamb Stew
2 lb lamb roast (shoulder)
1 Tbsp canola oil (or other neutral cooking oil)
1 clove garlic, minced or grated
1 lb potatoes, peeled and cubed (I like Yukon Gold, personally)
1 onion, diced
2 carrots, peeled and sliced into half rounds
2 stalks celery, sliced
900mL low sodium chicken broth
1 bay leaf
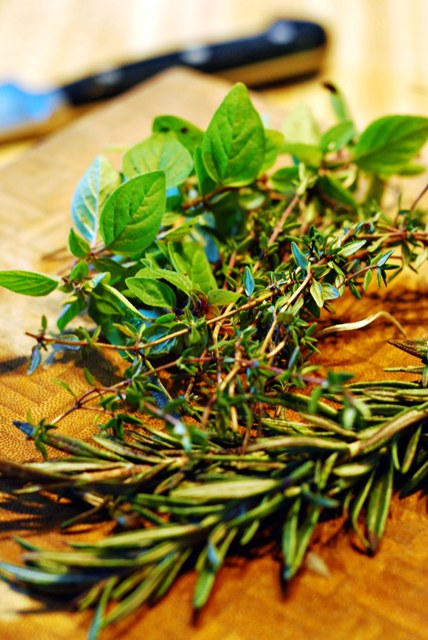
fresh thyme and rosemary to taste
salt & pepper to taste
10oz dark beer (I used a honey ale)
1/2 cup barley
1. Trim lamb roast of excess fat and cut into cubes about 1″ x 1″.
2. In a deep sided saucepan, sear lamb on medium/high heat for 6-8 minutes. Season with salt & pepper. Remove to stockpot, reserving liquid. Meat will still be pinkish in colour.
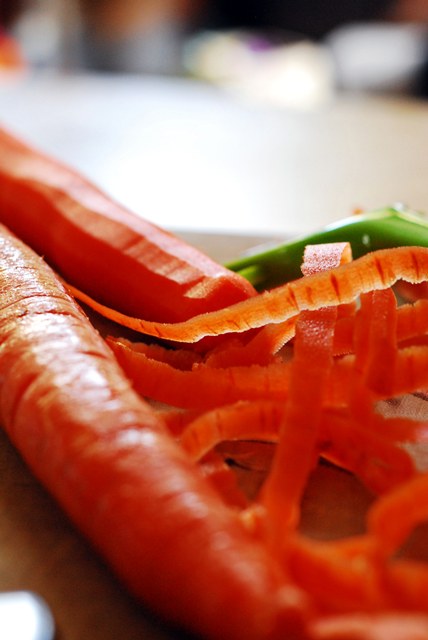
3. In same saucepan on medium heat, sauté garlic, onion, celery, carrots and potatoes until softened.
4. Add vegetables to stock pot with meat.
5. Add in minced herbs and sauté over medium heat for 5 minutes.
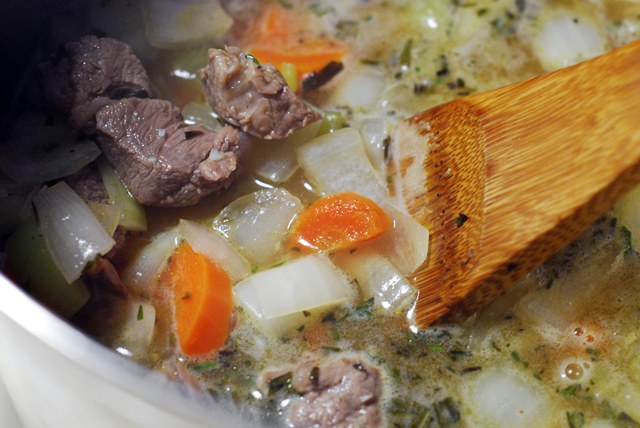
6. Add in beer, simmer for another 5 minutes, add stock, bring to boil and reduce heat to simmer.

7. Simmer for at least 2 hours.
8. Add barley in during last 45 minutes.
9. Serve with my Garlic & Herb Beer Bread.
So, it’s that time people. Time for desserts aplenty and no holds barred calorie attacks. For me the holidays start on December 1st. The tree goes up, all the decorations are strung about the house and our giant blow up snowmen go on the roof. (Yes, I’m that person). I’m listening to Christmas music right now, a little Diana Krall to get the spirit going.
This weekend we are going to pick out our tree and cut it down at a neighbouring Tree Farm. I’m very excited! We have never cut a tree down before. In fact, last year was our first with a real tree as a family. We bought it December 1st, and by Boxing Day (that’s December 26th for curious foreigners 😉 ) there were needles in every corner of the house. This year I’m restraining myself by 4 whole days!
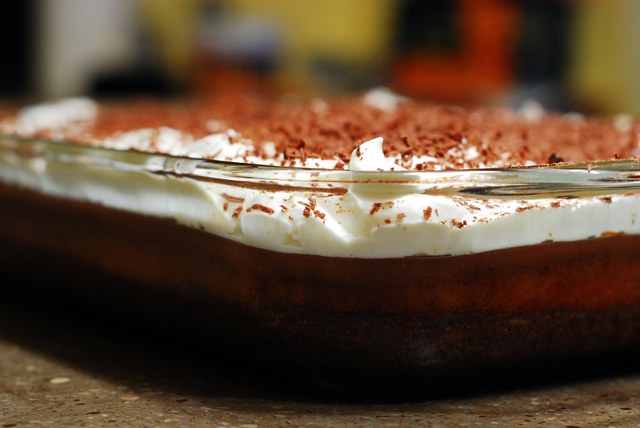
This cake is a family tradition. Every year for Christmas, my Mother and sister and I, would all gather around the kitchen and begin preparing The Cake. Only, in years past, it was more of a pudding with a graham cracker crust. The cream cheese layer was uncooked and only mixed with whipping cream and sugar. Don’t get me wrong, It was always delicious but this year I just wanted to tweak it to stay upright a little more. I like a little more texture to my dessert. I took the original recipe (originally from TV Guide!) and completely rearranged it, but held on to the core flavours. It still tastes the same, but it is much more “cake” like then pudding like this time.
The title is apprepeau as I have a little announcement to make as well. Remember back a few weeks, when I said I had some big news? I can’t say for sure that this cake is Better Than Sex, as I have been away from home for two weeks…hard to compare. But I will say it filled a craving. Cravings I’ve been having for a couple of months. Cravings that could just not be satisfied by your run of the mill puddings and cakes. Yes, that’s right readers…the Guilty Kitchen is expanding. We found out a few weeks ago, and confirmed yesterday by our midwives, that we are entering the second trimester of our second pregnancy! A bit of a surprise, but we are ecstatic nonetheless.
I’m over the hump of feeling queasy all day, but I have to say it was a struggle to cook for some of the meals in the past month or so. I was very happy to be in my sisters kitchen for two weeks sharing the burden with others.
So enjoy this recipe friends, and I hope it finds it’s way to your holiday tables this year as well.
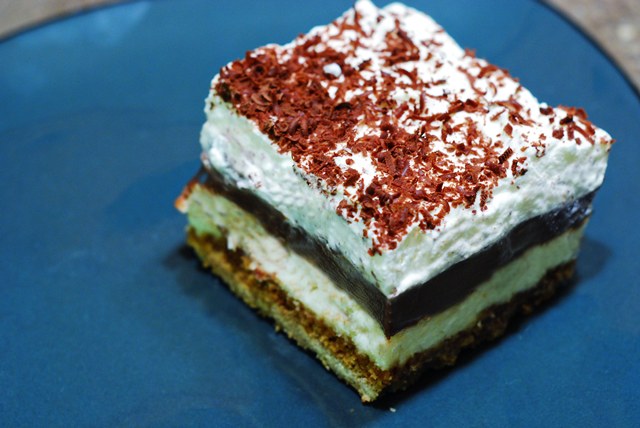
Better Than Sex Cake
Cheesecake Layer
2 cups Graham Wafer Crumbs
2/3 cup white sugar
2/3 cup melted butter
1 1/2 oz Frangelico Liquer
1 Tbsp gelatin powder
1/4 cup whole milk
8 oz. cream cheese, room temperature
2 eggs
scant 1/2 tsp salt
1/2 cup sugar
1 tsp vanilla
1/4 cup sour cream
1 1/2 tbsp flour
1 1/2 oz. Grand Marnier
1. Preheat oven to 350°F.
2. In a large bowl, mix graham crumbs, melted butter, sugar and Frangelico.
3. Press into bottom of a greased, 9 x 13 glass pan. Bake for 8 minutes and remove from oven to cool slightly.
4. In small bowl pour 1/4 cup whole milk, sprinkle gelatin over to soften and let rest 5-10 minutes.
5. In separate bowl, cream together cream cheese, sour cream, sugar and eggs.
6. Add in salt, vanilla, Grand Marnier and flour.
7. Mix in gelatin/milk mix. Beat with a whisk until well incorporated.
8. Pour cheesecake mixture over baked crust and spread to evenly layer it.
9. Put 1″ of water into a separate oven safe dish and place on bottom rack of oven. Steam can help the cheesecake from cracking.
10. Bake cheesecake for 20-25 minutes.
11. Allow to cool completely at room temperature before placing in refrigerator. Must be cooled completely before adding next layer.
Chocolate Pudding Layer
1/4 cup cornstarch
1/2 cup sugar
1/8 tsp salt
1/3 cup cocoa powder
3 cups whole milk
1 Tbsp gelatin
6oz semi-sweet chocolate, roughly chopped
1 tsp vanilla
2 oz. Kahlua
1. Take 1/2 cup of the milk in a small bowl and sprinkle the gelatin over. Allow to sit for 5-10 minutes to soften.
2. Combine cornstarch, sugar, salt and cocoa powder in top of double boiler. Mix until well combined.
3. Slowly whisk in the milk, making sure to use a spatula to scrape the sides and bottom to fully incorporate all ingredients.
4. Set over slowly simmering water in bottom of double boiler.
5. Using a whisk, stir for the next 15-20 minutes (it is not necessary to stir constantly).
6. Add in chopped chocolate and gelatin/milk mixture and stir for another 3-5 minutes.
7. Remove from heat and stir in vanilla and Kahlua.
8. Pour over cooled cheesecake layer and allow to cool in refrigerator, uncovered until completely set (30 minutes to 3 hours or more).
Final Layer
2 cups Whipping cream
1 oz. dark chocolate
1. Whip cream until stiff peaks form.
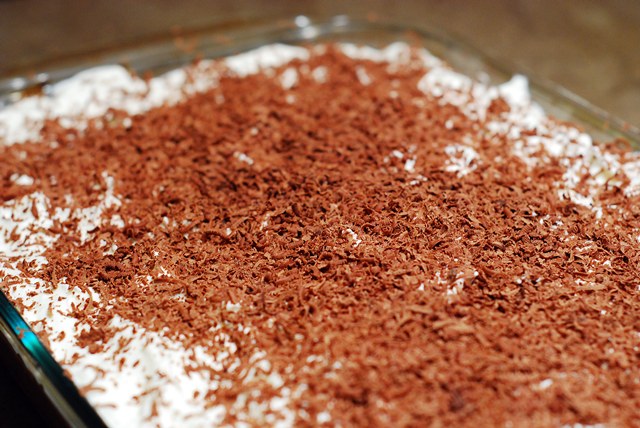
2. Spread over cooled pudding layer and grate chocolate over for garnish.
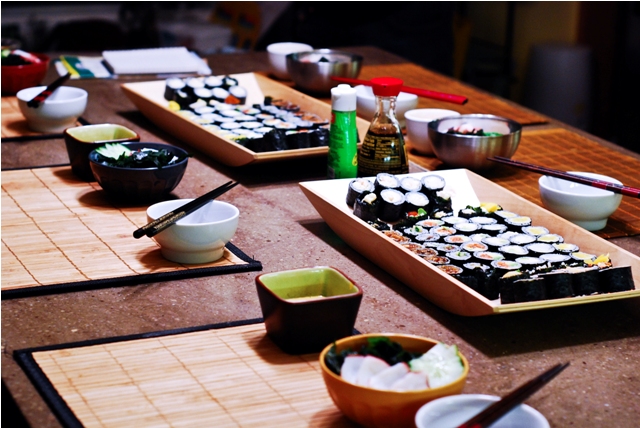
Making sushi rolls involves a little creativity and a lot of patience. Depending on how many you are making, the act of tamping down the rice, inserting filling, rolling and finally slicing can take a fair amount of time. My sister calls it her “Zen” time. No one helps, and it does take her a fair amount of time, but in the end, her efforts and our patience pays off. A sea of colourful jewels lays before us and a smorgasbord of flavour. Every bite is a new experience, and depending on your tastes, can be quite different even in the same roll. Maybe you like to dip in soya sauce, or a mixture of soya sauce and wasabi paste. Maybe you have a soya dressing you prefer. Whatever it is you like, anyone can dig into sushi. Not just for the raw fish eater, sushi can cover many bases. Cooked fish and eels, vegetarian, raw scallops, crab, plum, spicy, mild, crunchy, soft, large and small, it’s all there.
The following will give you a recipe for sushi rice, and prepare you for some of the things you may need to buy. The rolls themselves are less a recipe, and more of a list of possible ingredients. I hope you’ve liked my three part series on my family’s favourite Japanese food. Tune in soon for ideas for your next holiday feast!
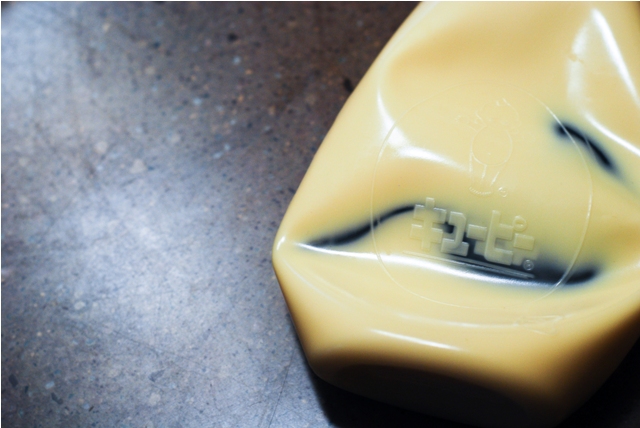
Japanese Mayo plays a starring roll in this meal
Sushi Rolls (Maki)
For rice, cook sushi rice as directed on package. When rice is ready, immeidiately add anough “Nakano” seasoned rice vinegar to taste (should be able to taste it but not be overpowering). Remove rice to bowl, cover in damp towel and allow to cool completely before beginning rolls.
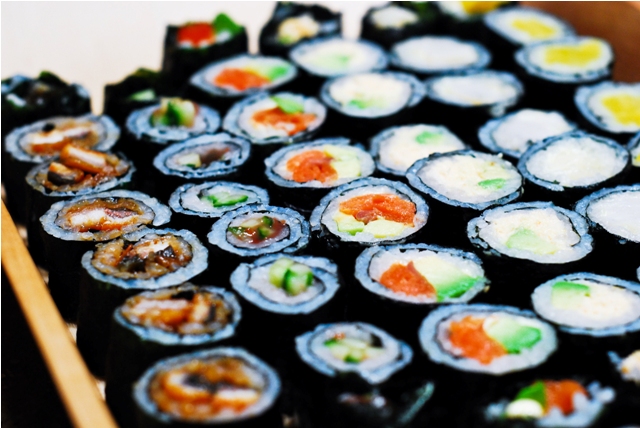
Barbequed Eel Roll (Unagi)
Makes enough sauce for a few rolls
One small piece of barbequed eel (available at Japanese seafood stores)
6 Tbsp soy sauce
4 Tbsp Mirin
2 Tbsp brown sugar
Dash of rice vinegar
1. Boil everything (except eel) for 1 minute, turn temperature down and simmer until thickened.
2. Allow to cool before adding to roll.
3. Slice eel into thin strips, apply coating of sauce, roll as desired.
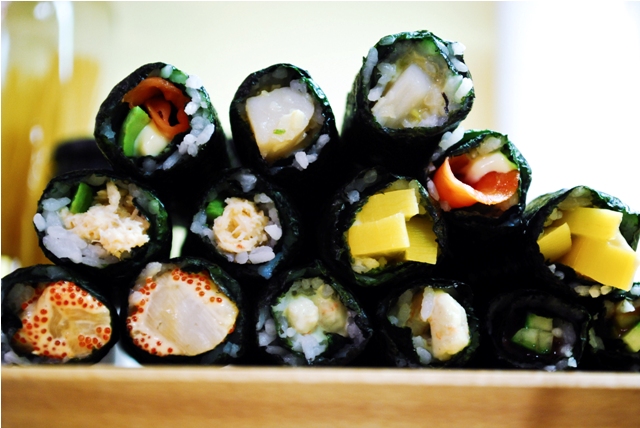
Oshinko & Japanese Mayo (Pickled Daikon)
Long, thickly cut slices of oshinko
Japanese Mayo to taste
Garlic Scallop Roll
1. Sauté roughly chopped scallops with minced garlic and butter until fully cooked.
2. Apply to rice and add thin lines of Japanese Mayo, roll as desired.
Spicy Crab Roll
1. Mix fresh or canned crab flesh with Shiracha Chili sauce to taste and Japanese Mayo.
2. Add thin slices of avocado to roll and roll as desired.
Plum Roll
1. Apply thin strip of Japanese Plum sauce (not the same as American) to rice, add thinly julienned (deseeded) strips of cucumber and roll as desired.
Spicy Shrimp Roll
1. Mix shrimp, wasabi paste and Japanese Mayo to taste, apply to rice and roll as desired.
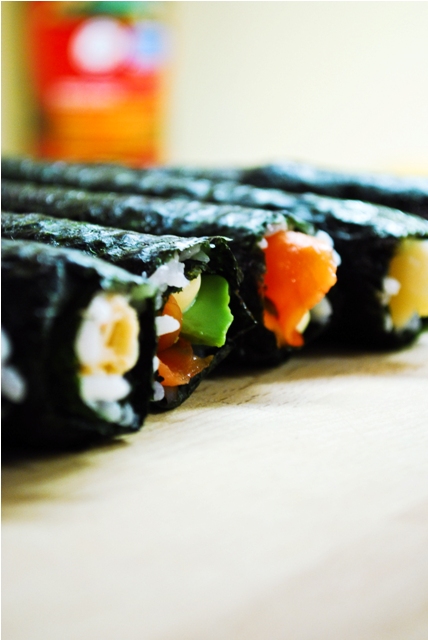
Smoked Salmon Roll
1. Thin strips of lox are accompanied by thin slices of avocado and Japanese Mayo. Roll as desired.
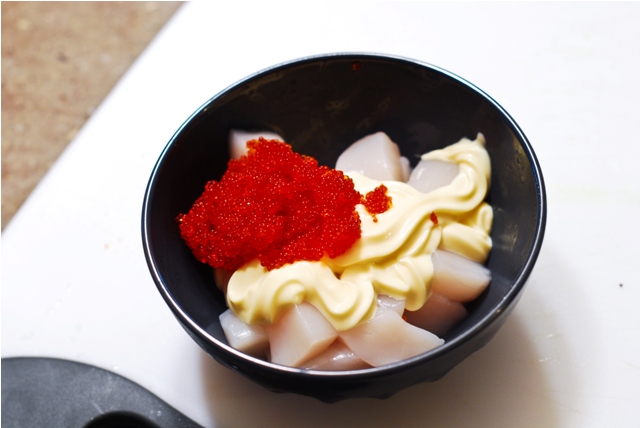
Raw Scallop Roll
1. Mix raw scallops with with tobiko (flying fish roe) and Japanese Mayo.
2. Apply to rice and roll as desired.
Rolling Sushi:
To roll sushi, the use of a Makisudare or Makisu(or sushi mat) is essential. To begin, place a sheet of Nori (dried seaweed) on the mat, apply a thin layer of seasoned, cooled rice (leaving a one inch bare space on the side furthest from yourself) and then add your desired fillings.

To make a traditional roll, simply roll tightly away from you and when you reach the bare patch, apply a small amount of water and finish rolling to seal.

Serve sushi by itself or along other sides, such as the Spicy Grilled Tuna or Sunomono Salad from the rest of this series. Just remember, what might have taken you all day or at least most of the afternoon, will most likely, disappear within 10 minutes.

|

Hi! I'm Elizabeth. I like fitness, bad ass tattoos, food, bacon, chocolate, taking lots of silly pictures and my spawn. Check out my FAQ for all the usual Qs or send me an e-mail and tell me all about your cat and your Aunt Sally's amazing apple pie. |


